-
.
“Fugassa” Genovese (Focaccia)
Today we are going to present a very important and very famous (also internationally) Italian bread product: Focaccia. In particular, we will show how to prepare (I’m sure we don’t have to teach you how to eat ) a specific type of focaccia: “Fugassa Genovese”. We will follow the recipe from our very experienced, forum member Andrea ! Andrea participated in competition with famous pizza chefs, like Antonino Esposito and he’s very excited to share his recipe with us today!
But let’s start from some history of the product!Product History
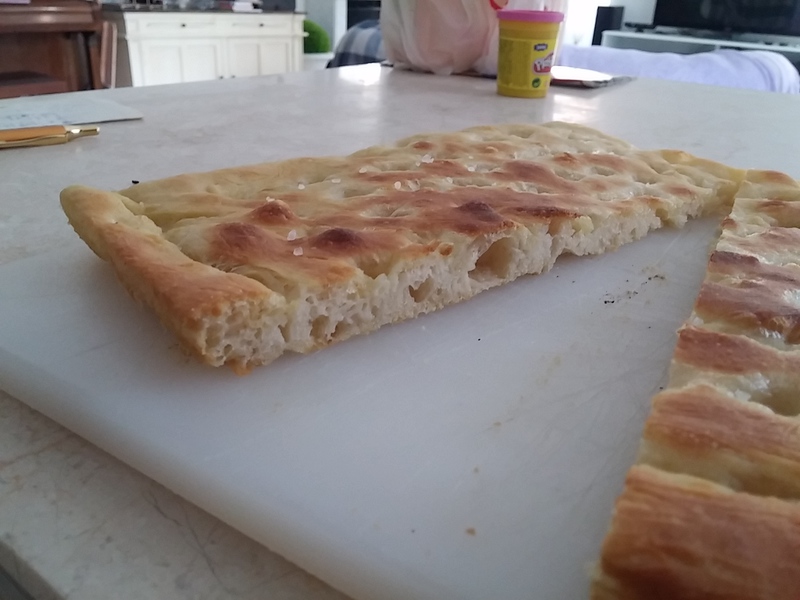
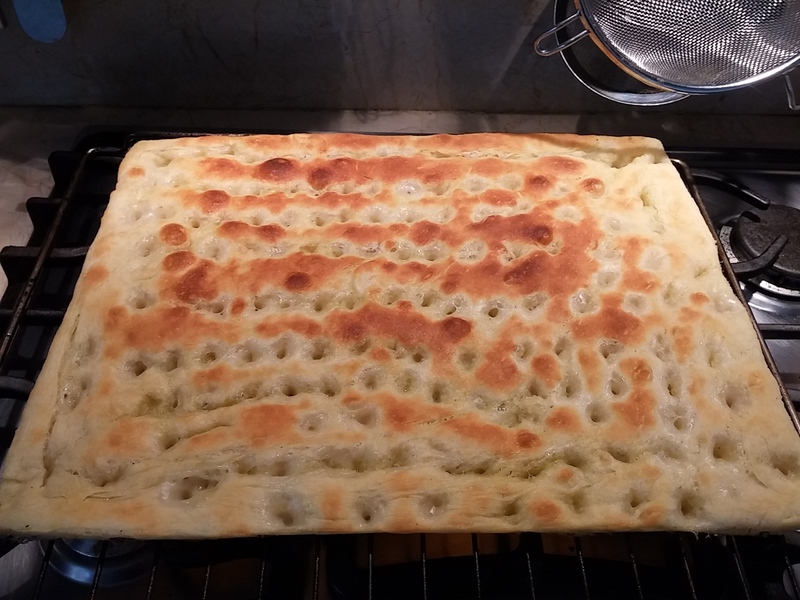
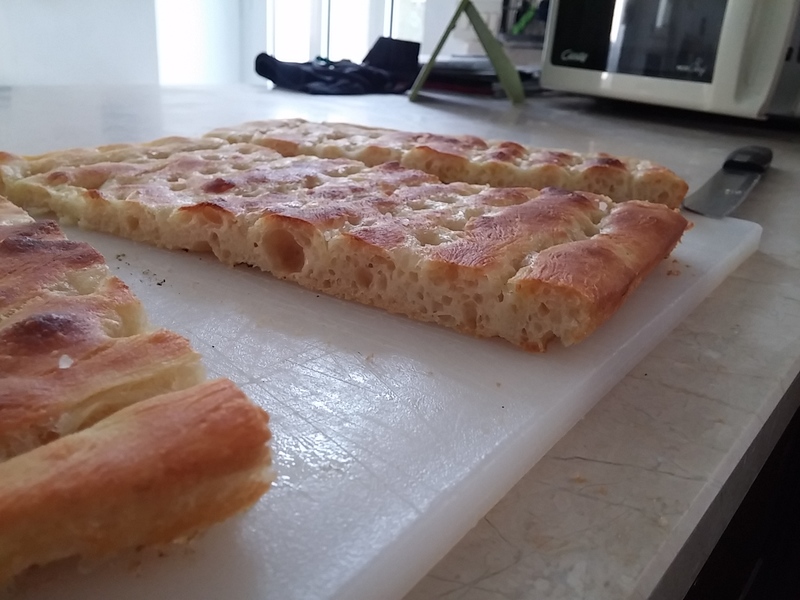
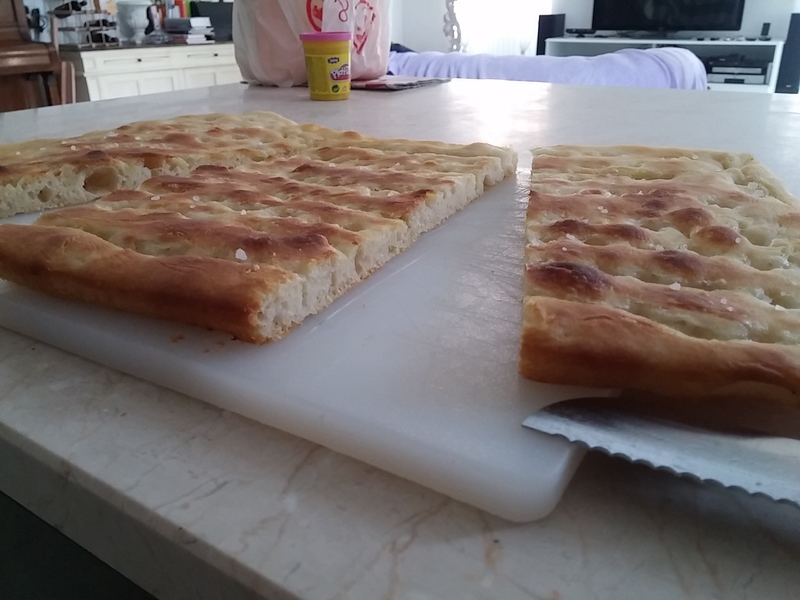
“Fugassa” is a dialectal word from Genovese dialect and it stands for “Focaccia”. “Genovese” means “from Genova” which is a town in the region called “Liguria” (north-east of Italy). As you may be aware, focaccia is a flat oven-baked bread product. The typical “Genovese” one is not too thick, seasoned with a generous amount of olive oil and with the characteristic holes texture (see pictures below).
Of course, there are different variations, as any other regional dish. There is an “official” one, with a specific set of rules, but I will present you a personal variation. I introduced this variation to obtain specific features that I want in the final product.
In Genova this type of flat-bread is really popular and it is a strong tradition. It is often consumed for breakfast, soaked in coffe and milk, and it then became popular as a snack that can fit any time throughout the day
Origins of Focaccia goes back to the end of the 15th century, when it was tradition to eat it at the end of the mass, or for ceremonies like weddings. It was actually considered a religious food and Matteo Gambaro prohibited its consumption outside religious settings.
It is a flat bread, 2 cm thick and it is crunchy outside, but soft inside. It is crispy and oily (extra virgin olive oil). Some people also sprinkle some white wine on top of it just before baking.
It was recently recognized as a trademark, to prevent imitation and to protect its origin.
www.focacciagenova.it/index.php
The official recipe from the bread-makers association says:
Strong Flour _______ 1 kg
Water _______ 550 gr
Extra-virgin olive oil ____ 50 gr
Fresh compressed yeast ____ 35 gr
Salt ______ 20 gr
Malt extract ______ 20 gr
Olive oil for the wetting of the top surface ___ 100 gr
KNEADING TIME:
30 minutes with fork kneading machine
15 minutes with spiral kneading machine
Dough final temperature 22°C
First rising phase: 30 minutes rest in the classic “madia” container (wooden box for kneading) in a humid environment. First round of folds.
Second rising phase: 30 minutes rest then cut 1 kg portions for each 40x60 cm tray. 20 minutes rising in the tray, then flat the dough gently and uniformly to cover the whole surface of the tray.
Spray the top surface with water and coarse salt. Spread the oil all over the top surface. Create uniformly spaced “holes” with the fingers (press with the finger, but make sure you don’t make a full hole through the dough).
Third rising phase: 120 minutes at 40°C at 85% humidity chamber.
Baking: 18/20 minutes at 230°C.
Now, the above is a direct method. Here on the forum I learned a lot about indirect methods and I want to propose a variation. I would like to introduce the “Biga” preferment in the recipe, to develop more complex flavours.
But… Some might ask: why don’t we do 48 hours fermentation/rising using the fridge? Well the answer is not trivial. We want to obtain the typical “Focaccia”, which means we want to have the gluten to be strong enough to rise and keep the shape with the “holes”. If we do a long fermentation the gluten network might become too weak and presents lacerations during baking. This would of course ruin everything.
And what if we reduce the yeast amount? Well, this would increase the rising time (especially the second phase, in the tray) and the, again, the strength could be not enough to hold the shape with the holes.
As you can see from the official recipe, the recommendation is for strong flour, but I prefer using a medium strength flour (W200-240, or protein content 11-12%).
We will also use a boiled, mashed potato..
Furthermore, we will hand mix the biga and we will do some round of folds to the main dough, during the first phase. Oil will be added as a last ingredient.
But let’s start with the recipe!
We will make this recipe with 700 grams of dough per each tray, but this is the maximum allowed (in my opinion). This means that when we get experienced enough we can slightly reduce, down to the more common 600 grams per tray.
Ok let’s start!Recipe:
BIGA: to be prepared 5 to 8 hours in advance
Fresh compressed yeast_____ 6 gr
Water _____ 80 gr
Flour ____ 155 gr (W200-240, or protein content 11-12%)
Roughly mix the ingredients and let rising for 5 to 8 hours. Then we go on with the second dough:
BIGA ___ 241 gr
Water ______ 140 gr
Boiled, mashed potato ____ 100 gr
Flour ______ 220 gr (W200-240, or protein content 11-12%)
Salt_____ 15 gr
Extra-virgin olive oil _____ 27
Dissolve the biga in the water, then add the potato, salt, flour and finally the oil.
Do not think that the hydration is too low, the potato also contains water! Furthermore potatoes do not contain gluten which, of course, complicates the kneading process. I would suggest to keep some of the water out, and add it slowly during the kneading process.
After the kneading, you should have a soft dough, but with a strong gluten network developed.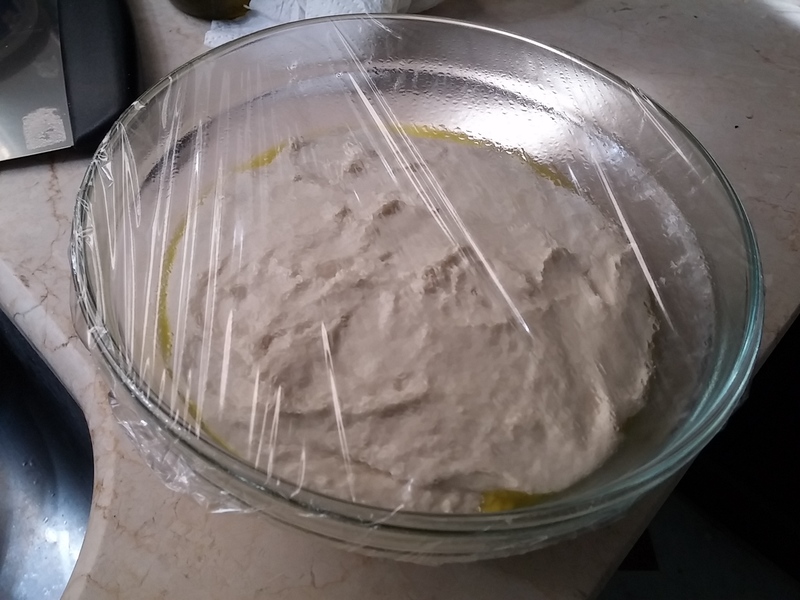
After 1 hour for the first rising phase (max 1,5 hours) we can start to shape the dough and flatten it onto a heavily dusted working table.
Then we spread a generous amount of oil onto the tray, we move the flat dough in it and we give the final shaper cover the whole surface of the tray. If the dough is still a bit elastic and it doesn’t easily cover every corner, wait 30 minutes and then finish the job!
With a silicone brush, spread the top surface with olive oil and place the tray in the oven at a temperature of about 28-30 °C.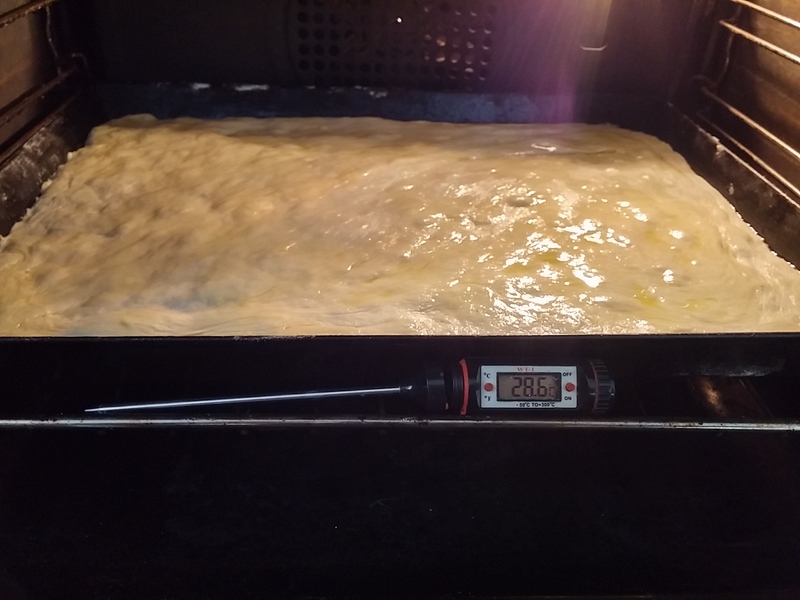
Wait another 1-1,5 hours and you should get something like this: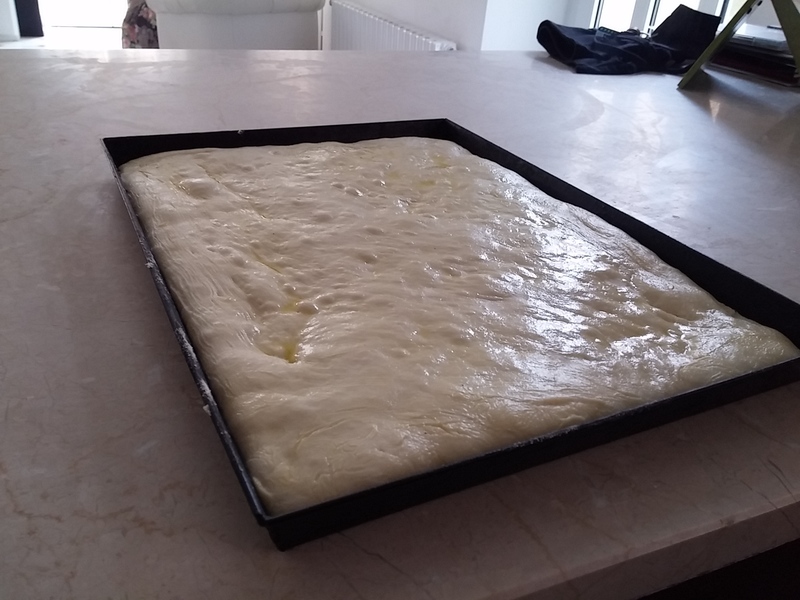
This is the maximum limit at which the dough should rise. It should not rise too much because now it’s time to make the “holes”. As you can see from the picture they are not passing holes, they are more like pits. Be delicate, but also firm
You should get something like this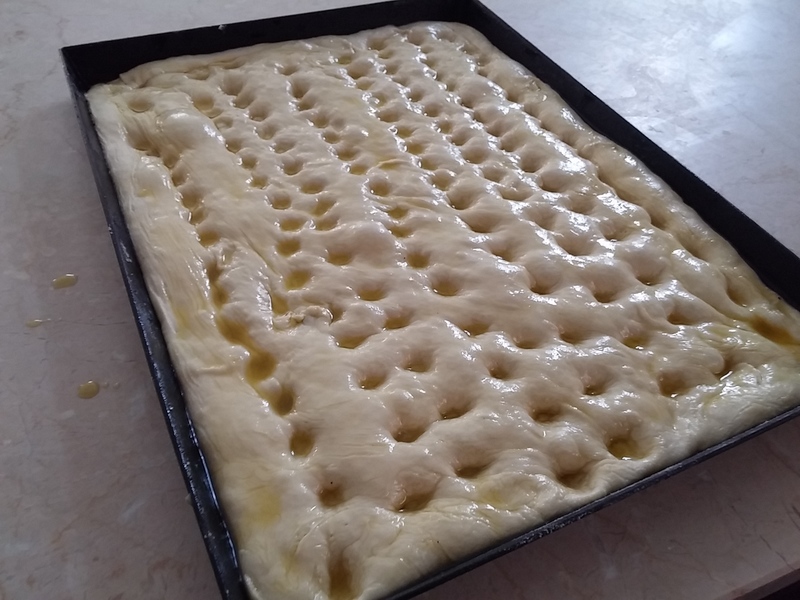
Now with a bottle of water, and keeping a finger to stop the water from coming out too quickly, gently pour the water all over the surface. More or less you should cover all the holes. In case you are not sure about the quantity, it is anyway better to have the water touching the borders than having not enough of it.
More or less it should be like this: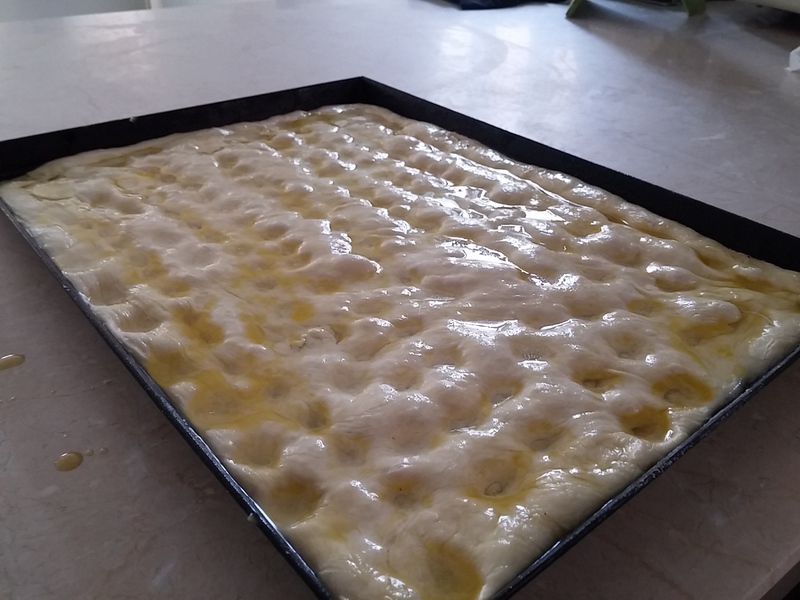
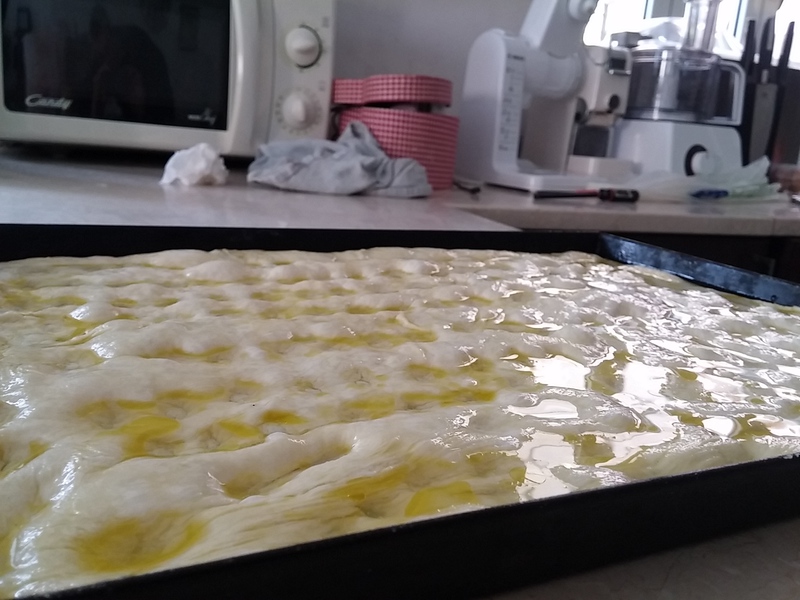
Spread some salt on the surface and you are ready to bake!
If you have a semi-professional oven like a F1 P134H, I would keep the floor at 250 °C and the top at 230 °C. Remember that I have a step that rise my stone floor towards the ceiling of the oven, so if you don’t have it keep the top 10 or 20 °C higher.
Bake for more or less 14 or 16 minutes.
As soon as you take it from the oven, IMMEDIATELY remove it from the tray and put it on a cold rack.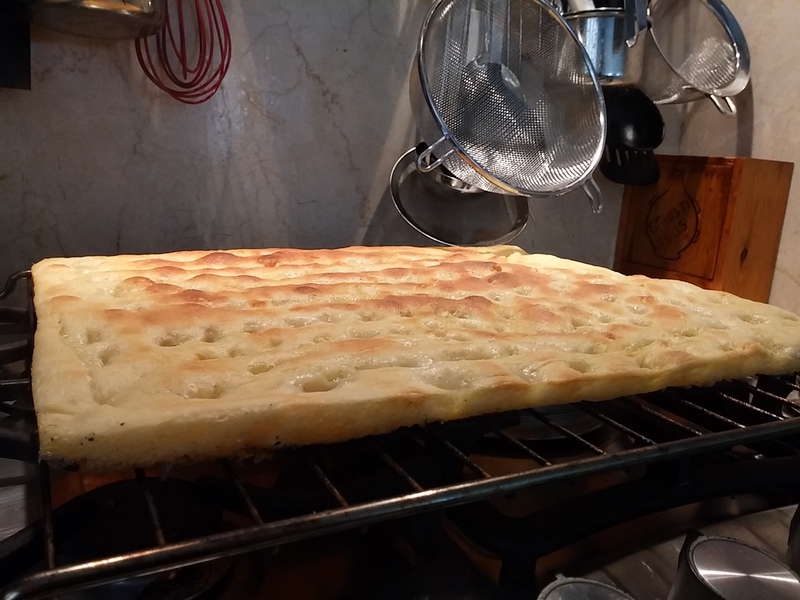
 .
.
"Fugassa Genovese" (Focaccia) |