-
.
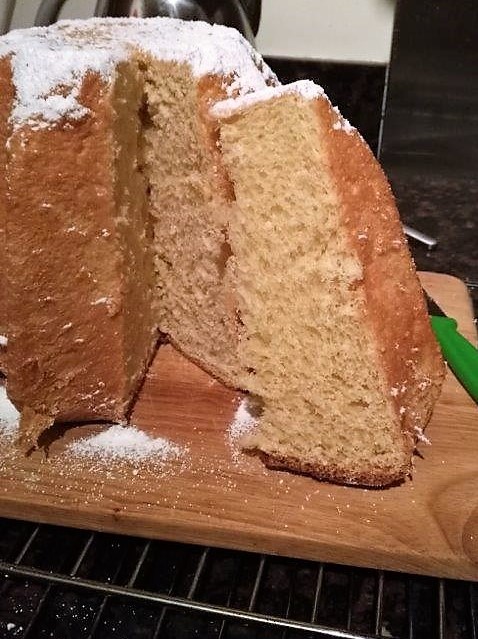
Pandoro
Today we are going to present a very popular Italian dessert : Pandoro! HERE the original recipe in Italian language.
Pandoro is a traditional Italian sweet bread that is most popular around Christmas and New Year. Pandoro and/or Panettone are never missing on an Italian dinner table during the Christmas period.
It literally means “Golden (d’oro) Bread (Pan)”. It is quite a recent dessert bread: the first patent was obtained by Domenico Melegatti in Verona, Italy. Its origins can be traced back to the brioche bread, a typical French bread.
Pandoro has a very characteristic butter, vanilla flavour and it has a very soft texture.
Here in our forum/community Modigliani (HERE his profile) studied this baking technique and today, we’re very happy to announce that he will guide us through this dessert making process, that it is not the most easy to realise.
One of his most famous creation is Pandoro with mascarpone cheese and black cherries.
Anyway, let’s go straight to the process assessed by Modigliani through time and experience!
__________________________________________________________________________________________________Few words before starting
Hi everybody! First of all I want to thank Ettore (Notturno Italiano) for the opportunity to present my Pandoro’s recipe. I want to clarify that I didn’t invent anything new! I just took recipes online or in books, I tried them, I did mistakes and I tried to understand where and how I made mistakes.
After having baked all together with the Chef Sergio Maria Teutonico (HERE), you probably all expected another famous baker, but… let’s be happy with just me
For this reason, do not think that what I do is the correct way of doing things (like baking this wonderful dessert) so feel free to change any of the steps outlined below if you think they don’t suit your “baking style”!Origin of the recipe
Throughout the whole recipe I took inspirations from the Pastry Chef Francesco Favorito. We will realise the Pandoro with two different doughs (double dough). My idea is to have a first, basic dough that can be the base for any type of Pandoro, like classic or with “Moscato” flavour (Moscato is grape, in English is called “Muscat”, that is used to make a famous Italian wine. It is not only used in Italian wines, but of course we will use an Italian one here).
A third option could be with “Zabaione” and black cherries, but we will not see this option here.
We will use a liquid sourdough starter (100% hydration) that we will have to feed to make it strong and very active. We could also help the sourdough starter with a small piece of compressed fresh yeast. Finally, we will show a version with only compressed fresh yeast.
To mix and knead the dough I will use my kneading machine Kenwood Km040. If you have a different machine, do not worry, simply adapt the steps to your specific device.What you will need
In addition to the kneading machine you will need:
- One or more 1 kg Pandoro mould (aluminium or silicone)
- Hand mixer
- A plastic scraper
- A silicone spatula
- A pastry brush
- Mixing bowls
- A meat thermometer, with wire if possible
- A lot of patience
In order to properly make this dessert bread you don’t have to rush the steps, especially when you will add the liquids to the dough. We don’t want to lose the gluten network, because it will be very difficult to recover it. Patience will be required throughout the whole process!
We will need more or less two days with the following schedule:Schedule
Friday 7/8 pm …. First dough
12 hours rest/rising
Saturday 7/8 am…. Second dough
12 hours rest/rising in the mould
Saturday evening/night … baking
If everything went weel we might be able to cut the first slice on Sunday lunch! Otherwise it can be put in a sanitized bag, closed and opened on Christmas!!Ingredients
Let’s start with the ingredients to give time everybody to get them:
First dough (the same for every pandoro)
- 140 gr Very strong white flour (Canadian flours are normally very strong with a protein content above 14%)
- 60 gr whole egg (1 Large egg)
- 20 gr egg yolk (1 large egg)
- 75 gr butter
- 75 gr sugar
- 1 gr Compressed fresh yeast (optional)
Second dough (classic Pandoro)
- 210 gr Very strong white flour (Canadian flours are normally very strong with a protein content above 14%)
- 120 gr whole egg (2 Large eggs)
- 40 gr egg yolk (2 large egg yolks)
- 110 gr sugar
- 100 gr butter
- 10 gr honey
- 10 gr dried milk
- 2.5 gr salt
- 10 gr distilled alcoholic beverage (rum, whiskey, etc..)
- 1 vanilla pod
- Orange and lemon zests
Second dough (with “Moscato” sauce)
- 190 gr Very strong white flour (Canadian flours are normally very strong with a protein content above 14%)
- 60 gr egg yolk (3 large egg yolks)
- 85 gr sugar
- 85 gr butter
- 125 gr “Moscato” sauce
- 10 gr honey
- 10 gr dried milk
- 2.5 gr salt
- 1 vanilla pod
For the “Moscato” sauce:
- 250 gr sweet “Moscato” wine
- 30 gr glucose syrup (or acacia honey)
- A pinch of salt
First dough with only compressed fresh yeast
- 225 gr Very strong white flour (Canadian flours are normally very strong with a protein content above 14%)
- 35 gr Water
- 12 gr Fresh Yeast
- 60 gr whole egg (1 Large egg)
- 20 gr egg yolk (1 large egg)
- 75 gr butter
- 75 gr sugar
These are only indicative amounts because the best weighing scale will be our own judgment. Flours are all different and some adsorb more, some adsorb less. Just keep an eye on it and slightly adjust the liquids according to your flour performances.
Add the liquids slowly, so you can see when you have to stop adding. If you see you are breaking the gluten network instead of keep building it stop introducing liquids, because your flour cannot adsorb more.“Moscato” sauce
As already written above ingredients are:
- 250 gr sweet “Moscato” wine
- 30 gr glucose syrup (or acacia honey)
- A pinch of salt
Pour the wine in a small pot with syrup and salt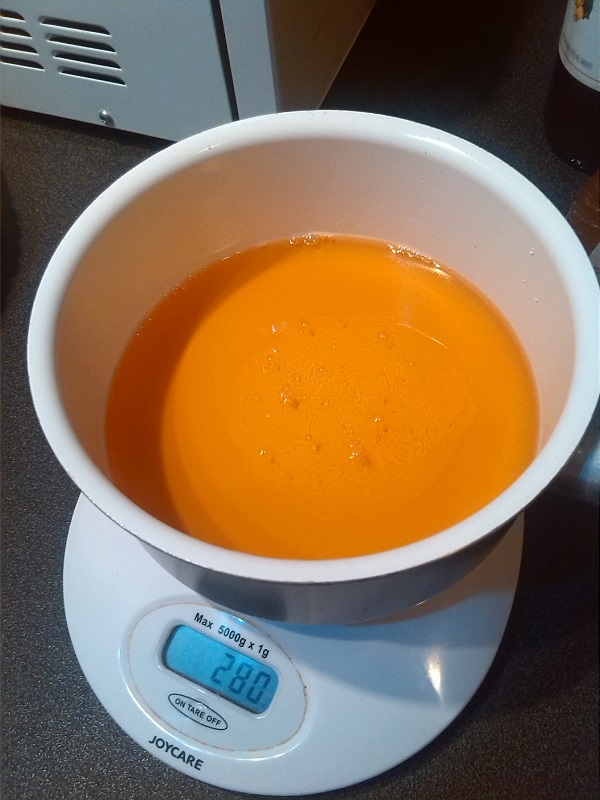
Weigh also the pot, because we will have to reduce by half the total weight of the sauce.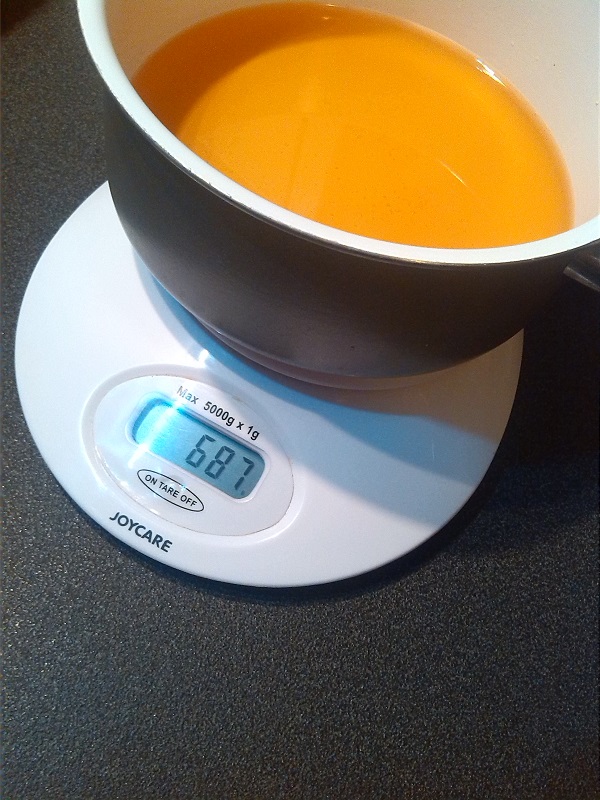
We will now subtract half of the sauce weight (140 gr). In my case is
687-140 = 547 gr.
Put the pot on the stove and check the weight on the scale every 2-3 minutes until you reach your final weight (547 gr in my case). Pour the sauce in a glass bowl and wait that it cools down.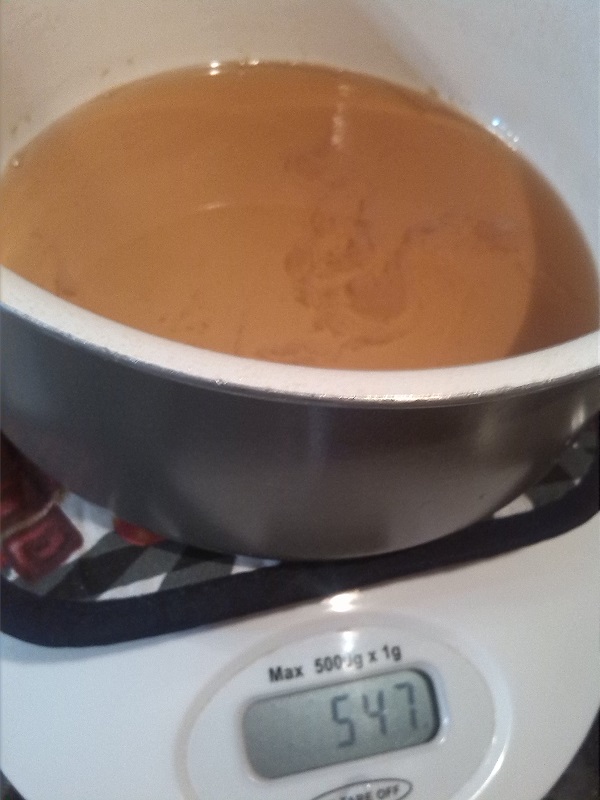
When it’s cold we will keep it in the fridge.
NOTE: The glass contained doesn’t necessarily have Kung Fu Panda on itProcedure
Ok let’s talk about the procedure we will be using. As already mentioned above, feel free to use a different method, the only important thing here is the result. You need to be sure to develop the proper gluten network and to obtain a smooth and strong dough.
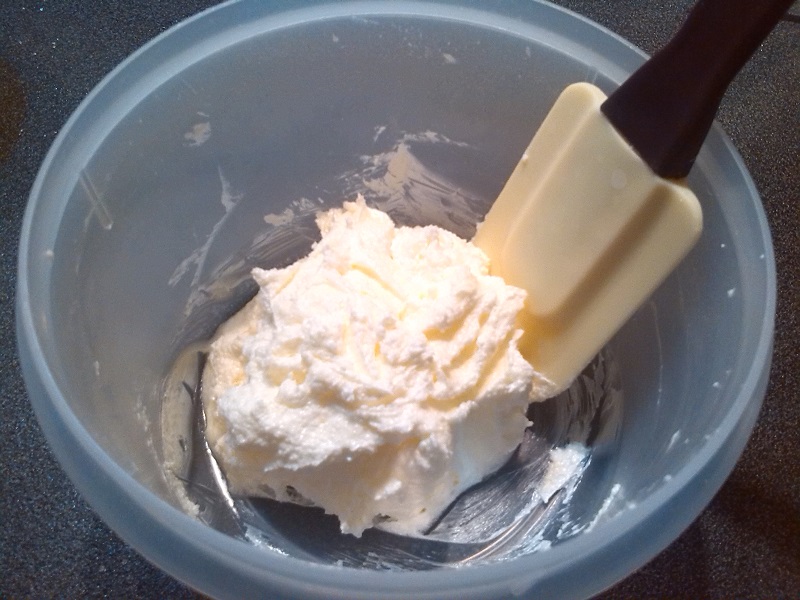
Butter-sugar emulsion
This is a technique I read on the chef Favorito’s book. Basically he suggests to prepare a butter-sugar emulsion before starting mixing the dough and let the emulsion to rest in the fridge.
Therefore, we will prepare this emulsion right before starting with the first dough.
Take the butter from the fridge and let it rest until it becomes soft (not liquid though). Put the butter in a mixing bowl and add 1/3 of the sugar. Start the hand mixer and mix the butter with the sugar. Add the sugar in three steps.
That’s it! Cover the container with a lid or cling film and place it back in the fridge. Do not leave it in the fridge too long, otherwise the butter will become solid again!
How to knead
We will be now ready to start. Make sure you have a sourdough starter at its highest activity and strength!
We can now weigh the flour and the sourdough starter. Mix the whole egg with the yolk. We will add this liquid little by little. This “LITTLE BY LITTLE” will be our GOLDEN RULE, because we want to make the dough slowly, using low speeds to prevent overheating of the dough.
We will also stop the kneading machine very often, in order to remove the dough from the hook and turn it upside down. This will minimize the kneading machine “ON” time to prevent overheating of the dough. Monitor the dough temperature throughout the whole process and if you see if goes too high, let the dough rest in the fridge. The dough should not exceed 26 °C.
I hope you are not too anxious nowLet’s start!
First dough
Make sure your sourdough starter is at its maximum activity!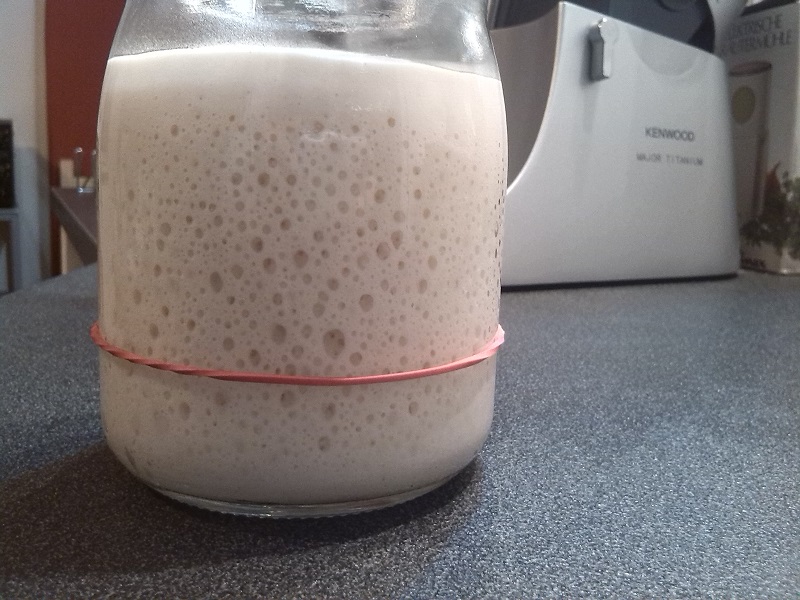
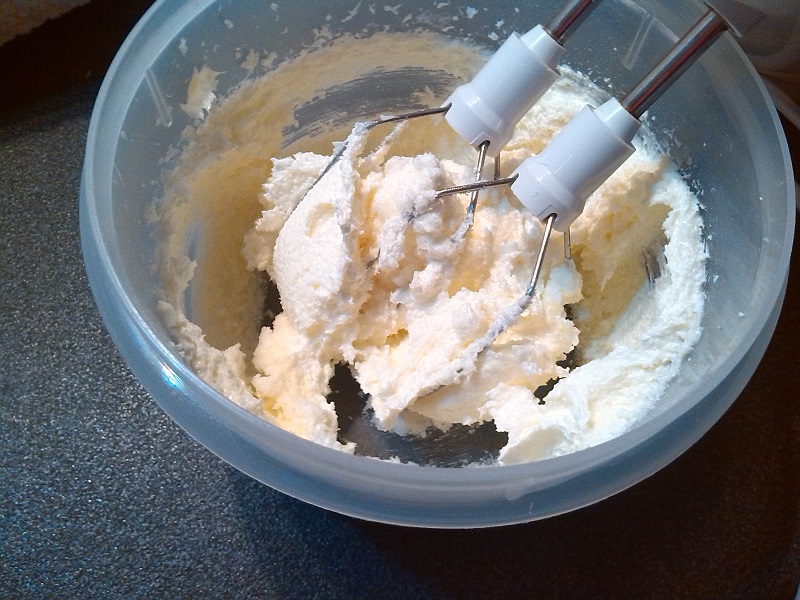
Let’s start from the butter-sugar emulsion. Mix with the hand mixer for about 1 minute.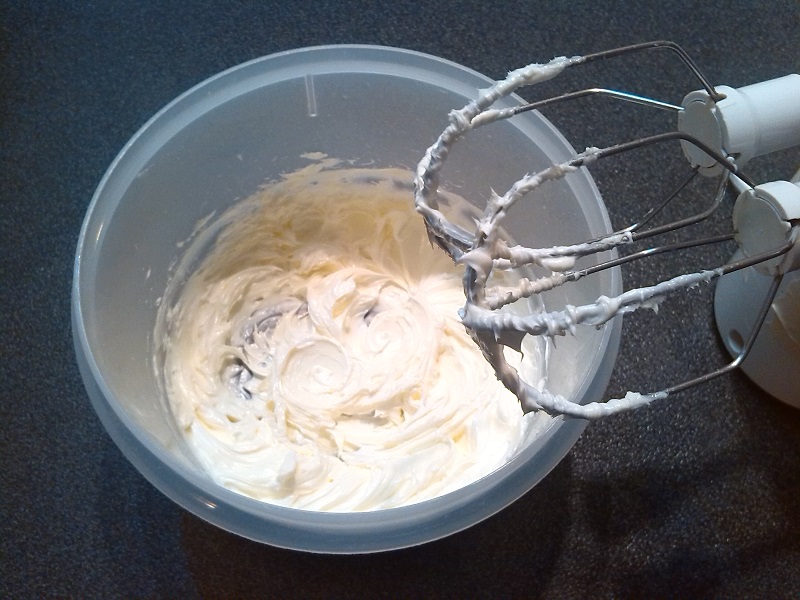
Then add the sugar other two steps. Cover the bowl with a lid or cling film and put it back in the fridge.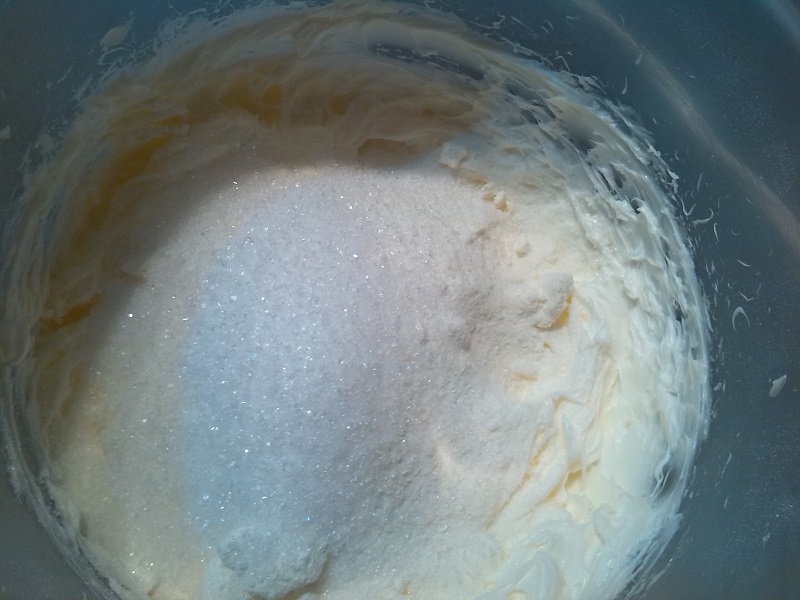
Mix the egg yolk with the whole egg in a glass in order to add it little by little.
Weigh the flour and the sourdough starter and put them in the machine bowl. If you use fresh compressed yeast add it now.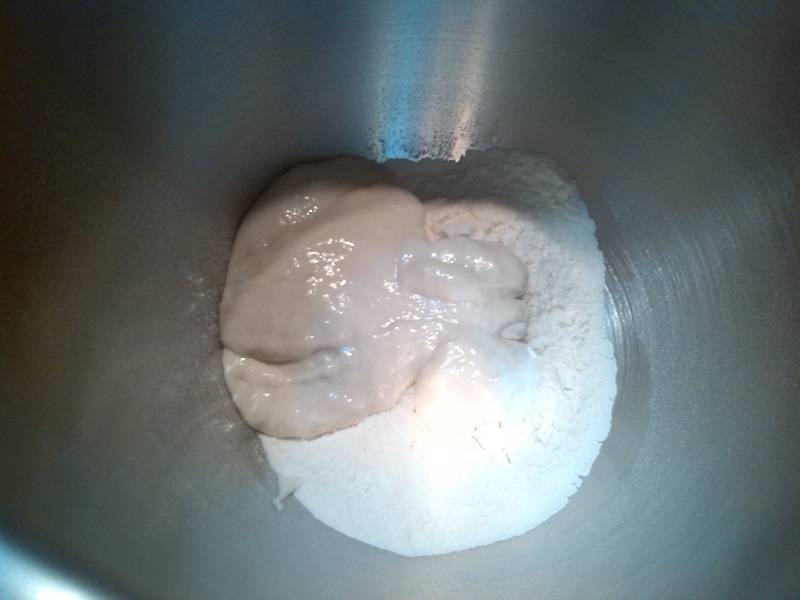
Start the machine at minimum speed and slowly, little by little add the eggs mix. We will obtain a strong, but not very smooth dough.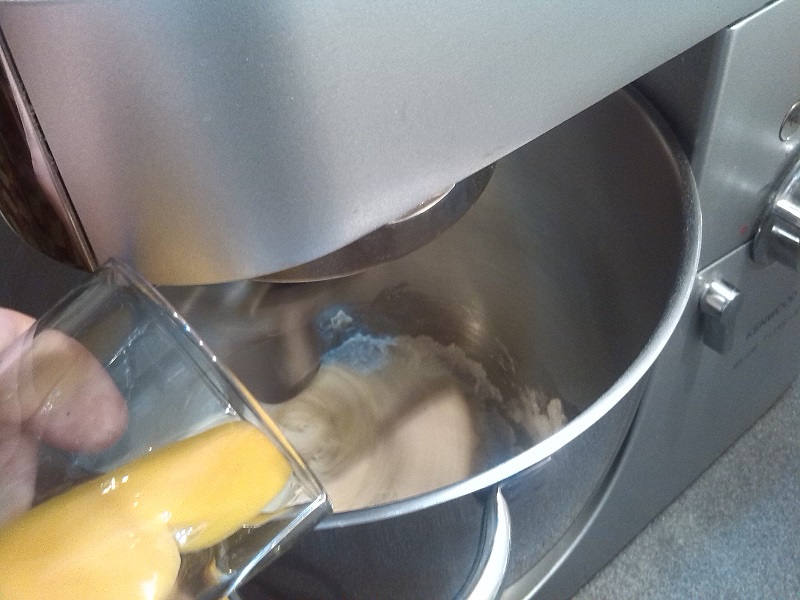
To achieve this, every time you insert a little bit of the liquids always wait they are adsorbed before adding the next portion.
Every now and then stop the machine, bring the dough together with the spatula e flip it upside down. As mentioned above this will help a lot!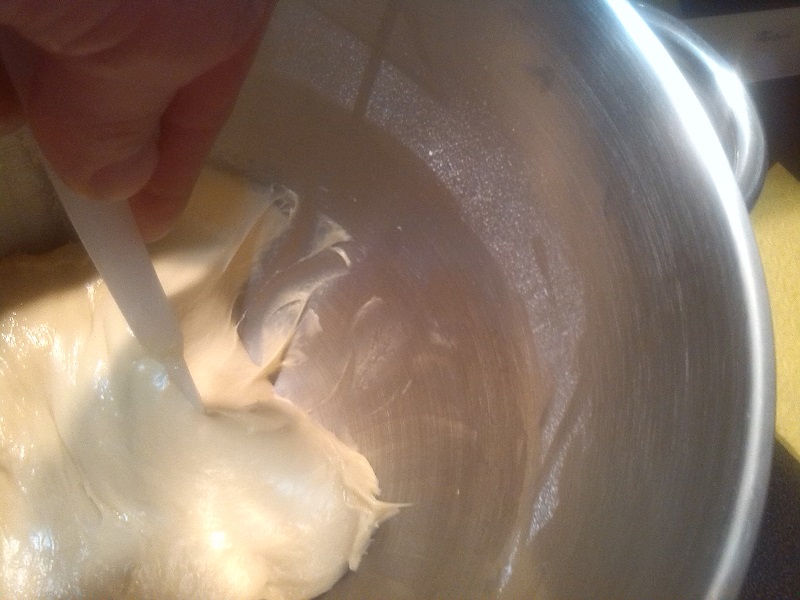
Once we have finished adding the eggs we can move on the butter-sugar emulsion!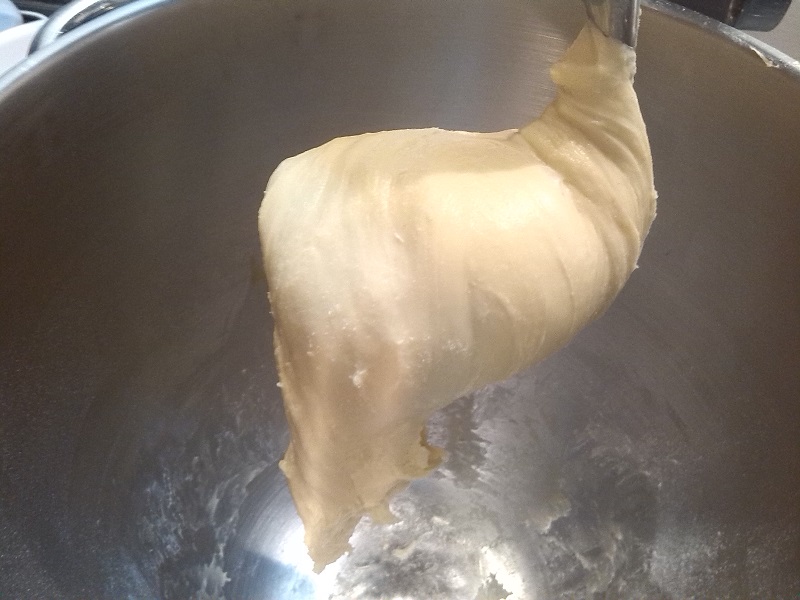
It is very important that the dough already has a strong gluten network, otherwise we will lose it immediately as soon as we insert the butter.
We will always add little by little and we constantly keep an eye on the dough developing. If we see the gluten network become weak, stop adding liquids because your flour cannot adsorb more! (Next time use a stronger flour which has more proteins).
In some case the flour is too strong and you will have to add a little bit more liquids. Ok let’s keep adding the butter little by little (new stuff, eh??)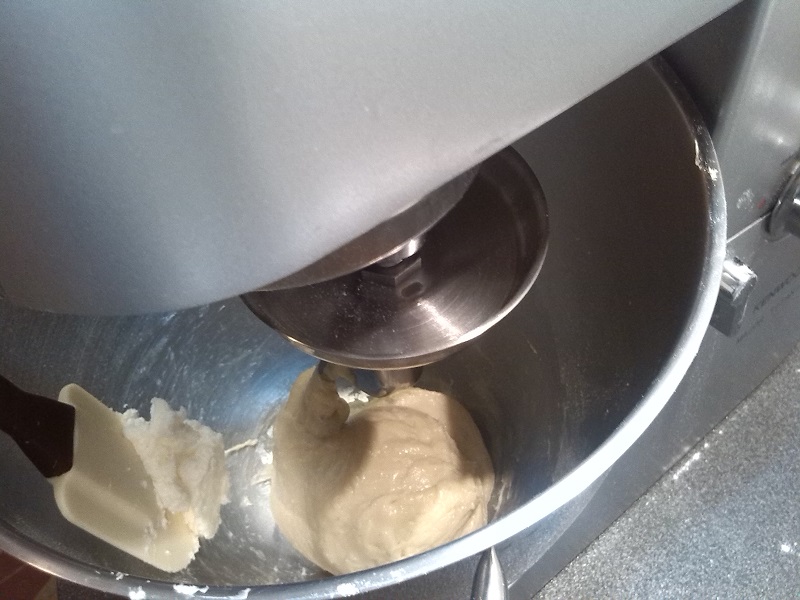
As usual wait that the butter is adsorbed before adding more.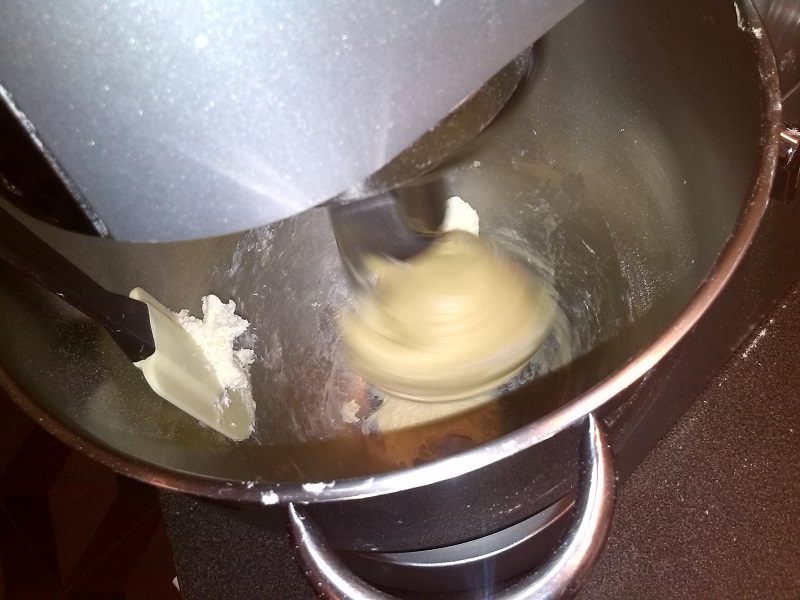
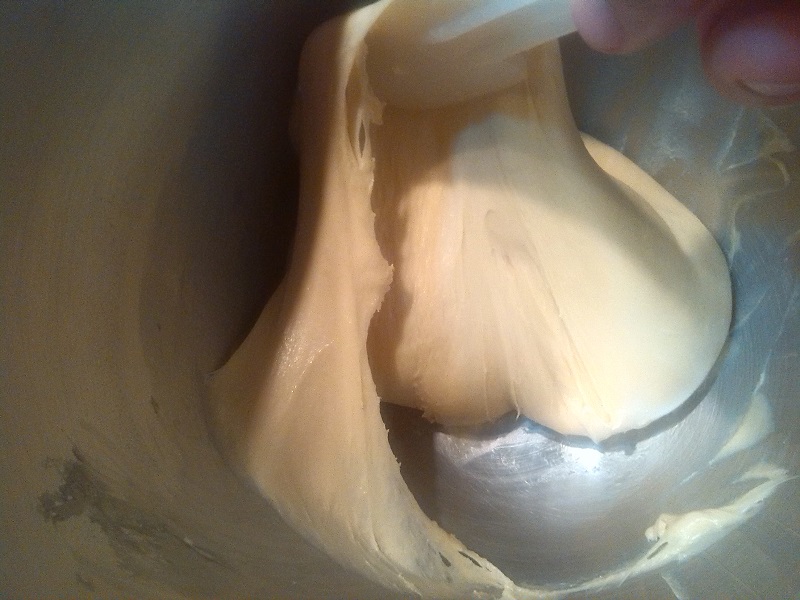
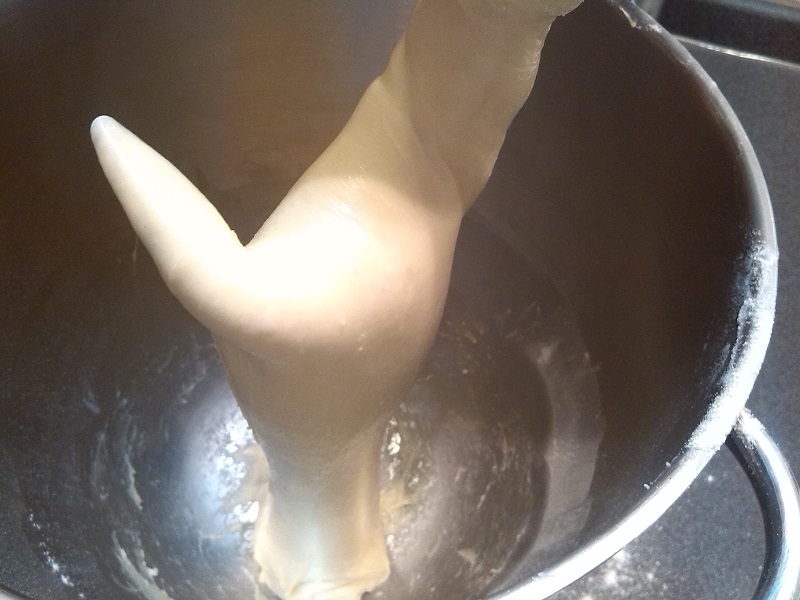
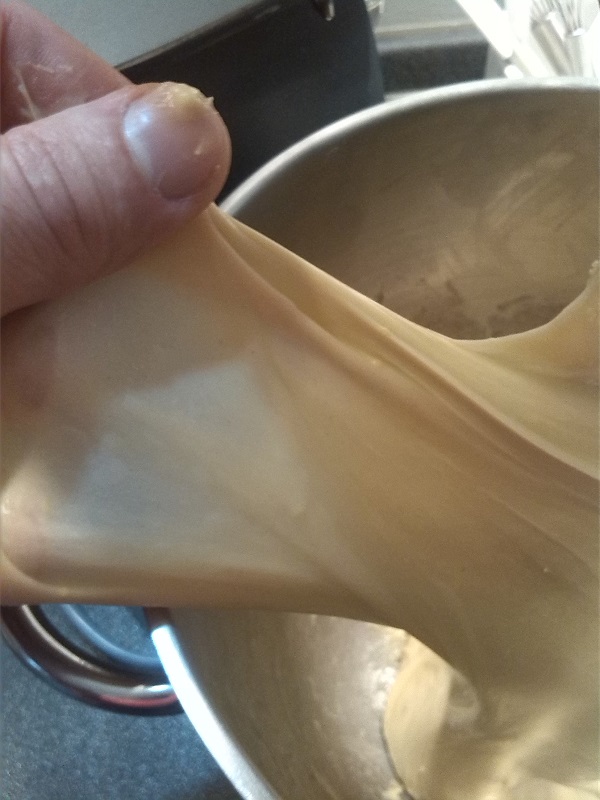
Again use the rule of stopping the machine and flip the dough upside down. If everything went well we should get a very strong and soft dough. The dough should be all attached to the hook and it should slowly fall towards the bowl, showing a nice, strong gluten network.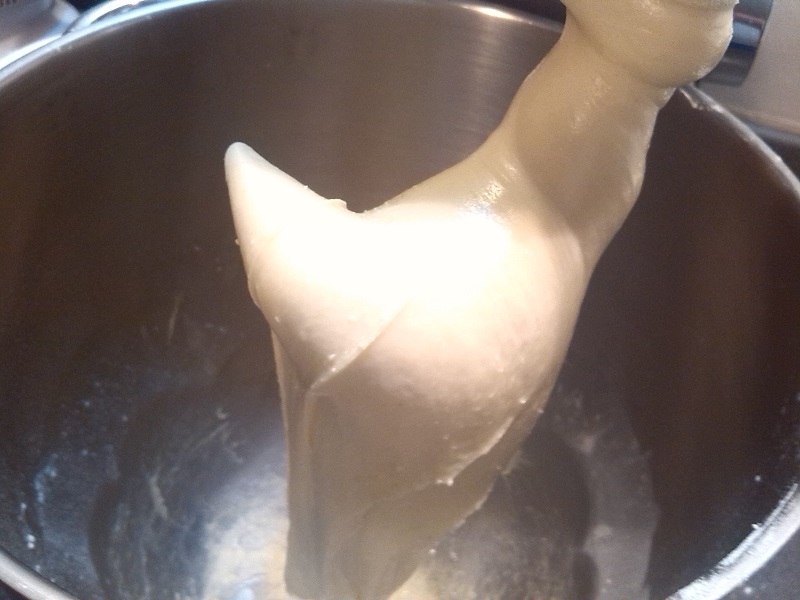
The whole process should require more or less 20 minutes (even more). If you think you should increase the kneading speed, no problem, but careful because this might overheat the dough.
We now take a small portion of dough, make a small ball and put in into a narrow cylindrical container. We will use it to know when the dough has tripled its initial volume.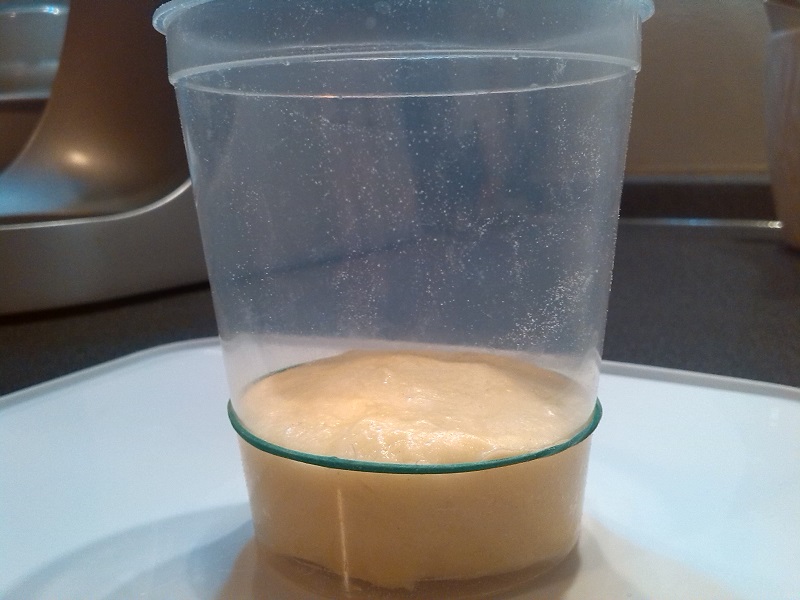
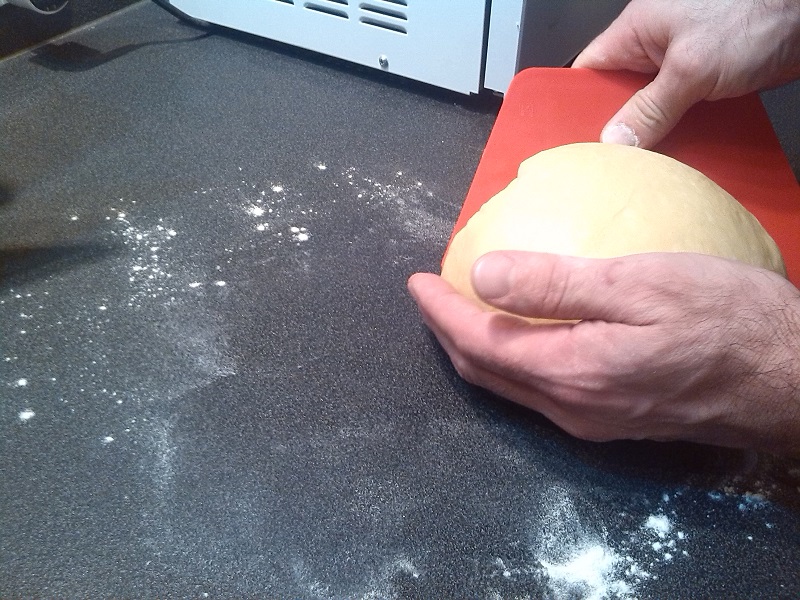
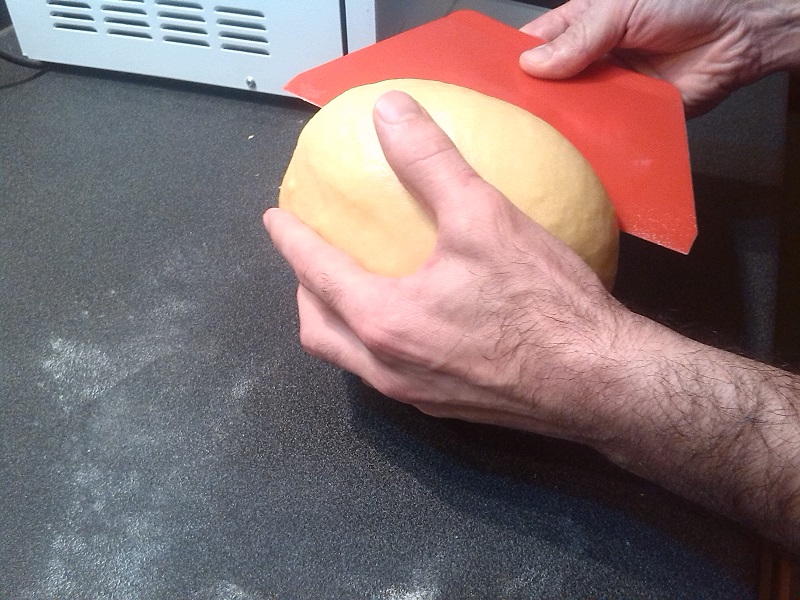
Now we need to shape the dough and provide the final strength. With a scraper pull the dough towards you and rotate it slightly. The friction against the table should stretch the outside layer of the dough and it should give a spherical shape. If you see the dough is too sticky, dust the working table, but not too much! You need the friction to properly provide the required strength.


Place the dough into a large enough container (it should triple its initial volume) and let it rest/rising for about 12 hours. Use the small cylindrical container as a little spy (mark the starting level).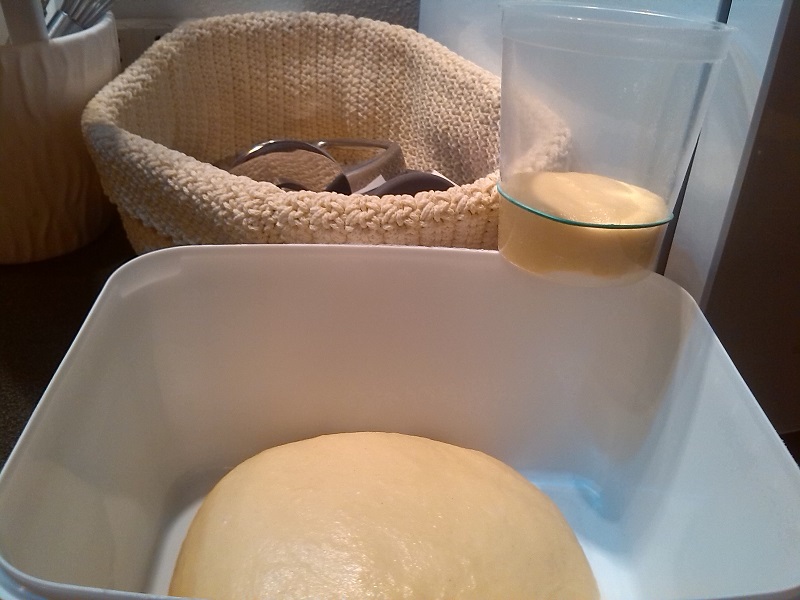
Place the container in a warm place (26-28 °C). You can use your oven with only the light on. If your oven’s light is not powerful enough, you can place a small container with warm water on the bottom of your oven. It’s important to wait that the first dough had tripled its volume, because it will be at its maximum activity to give a strong rising to the second dough!Second dough
The dough has tripled its initial volume? The little “spy” says “let’s move on the next stage”?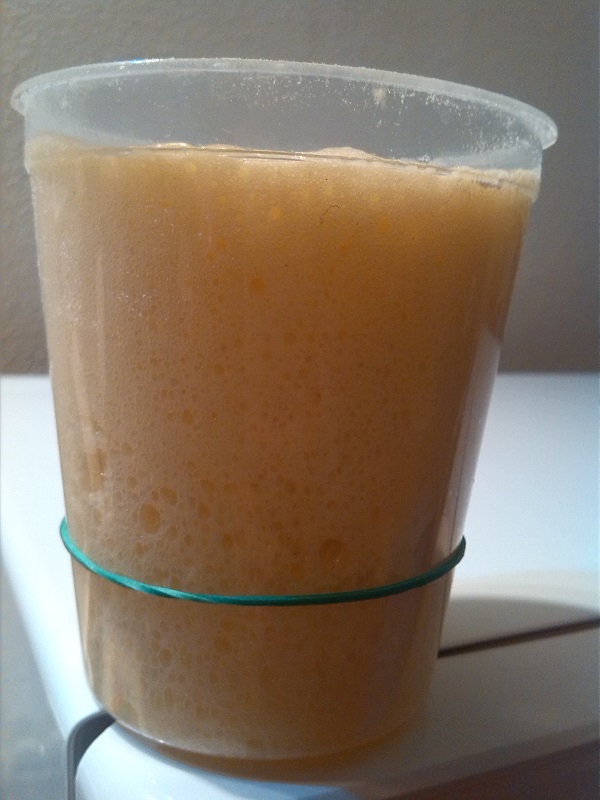
Good! Just a quick clarification before moving on the second stage:
It could be that the liquids indicated by this recipe are a bit too much or a bit too low. Some people might have to add more liquids, but some (most probably) might have to add less. These differences depend on many factors, but mainly they depend on the flour used.
We will use again our GOLDEN RULE of adding the liquids little by little and we will use our own judgment to decide whether keep adding the liquids or stop.
From now depending on what type of Pandoro you want to make follow the quantities outlined above for the second dough.
The procedure is the same as the first dough. Add the liquids slowly, little by little. Stop the machine, remove the dough from the hook, put it together with the spatula and flip the dough upside down.
In order to check whether we have to add all the liquids of the recipe or not, we will keep one egg yolk or one whole egg for the “Moscato” or classic pandoro respectively. We will decide based on our own judgement whether to add it or not.
First I will show the sequence of steps for the “Moscato” pandoro and then below I will show the steps for the classic Pandoro.
As for the first dough let’s start with the butter-sugar emulsion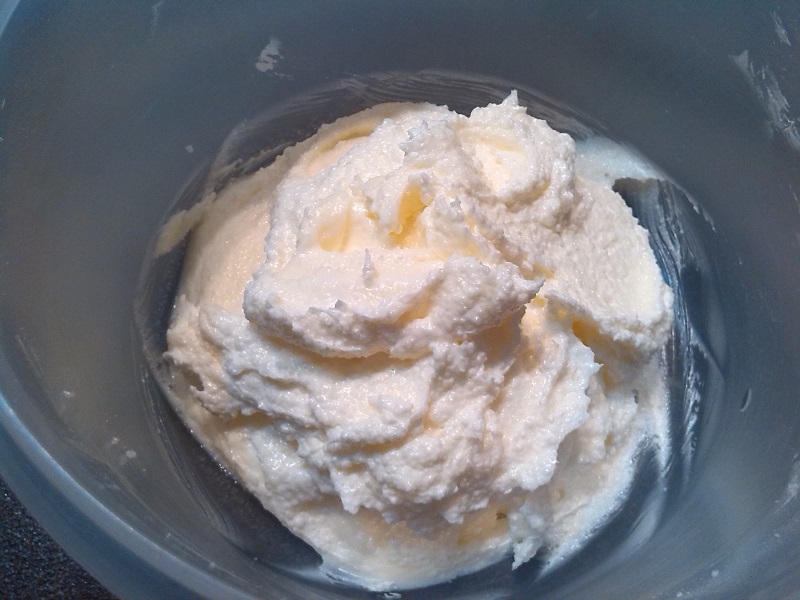
Then we put in the machine bowl the flour (also the little “spy”), the first dough, two egg yolks and the honey.
Start the machine at the minimum speed and wait the ingredients to be mixed together.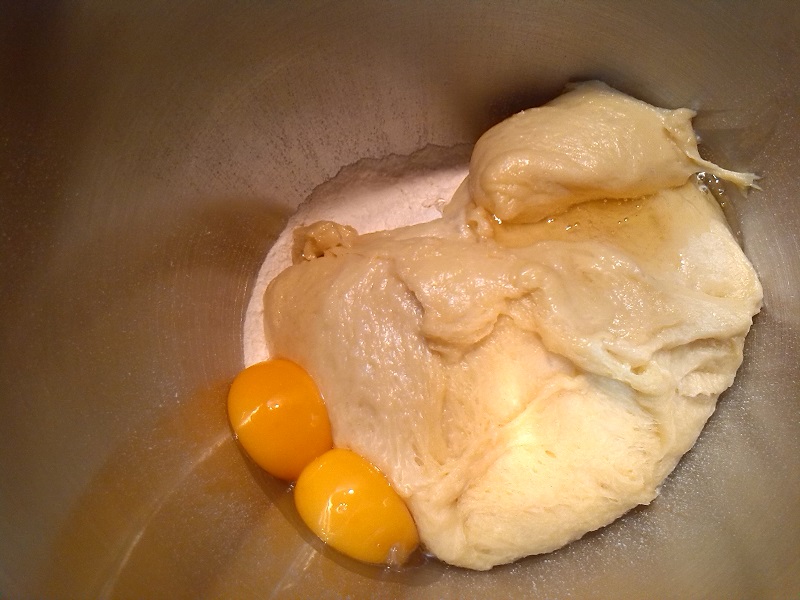
Pour little by little the Moscato sauce. Remember the Golden Rule!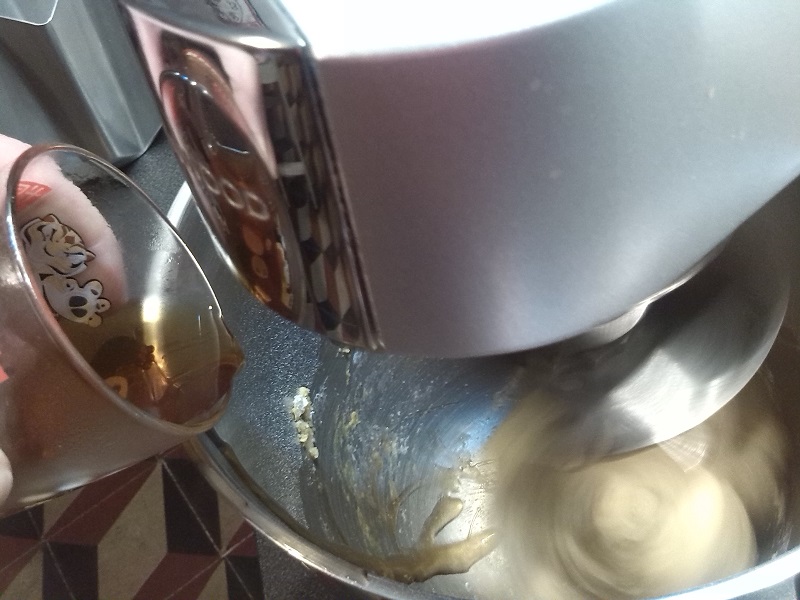
At this point we add the vanilla.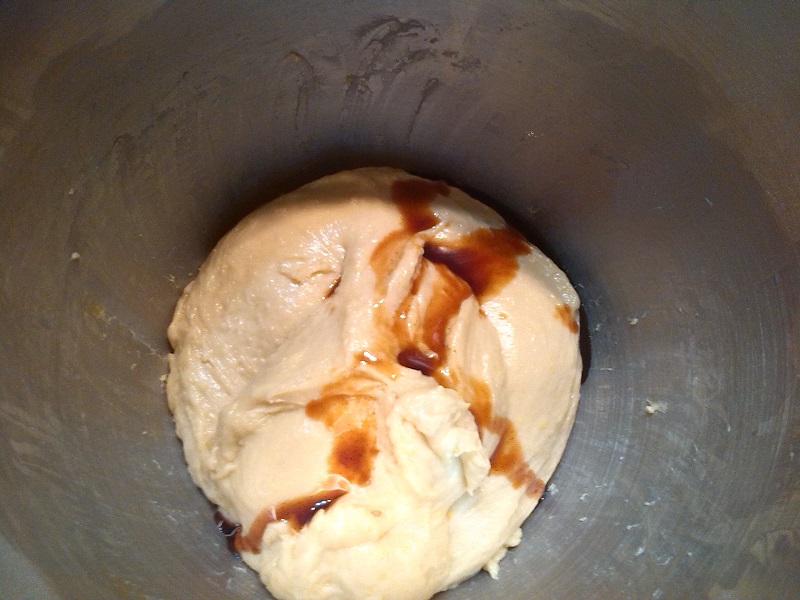
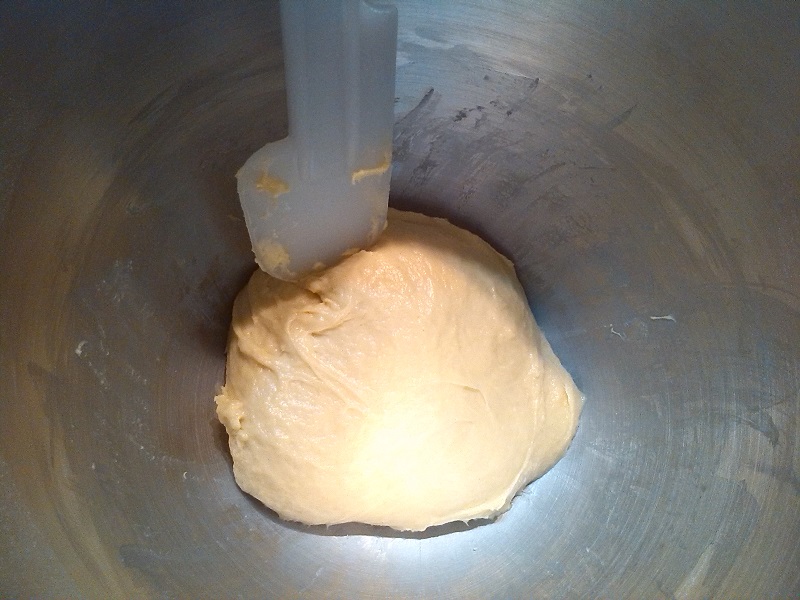
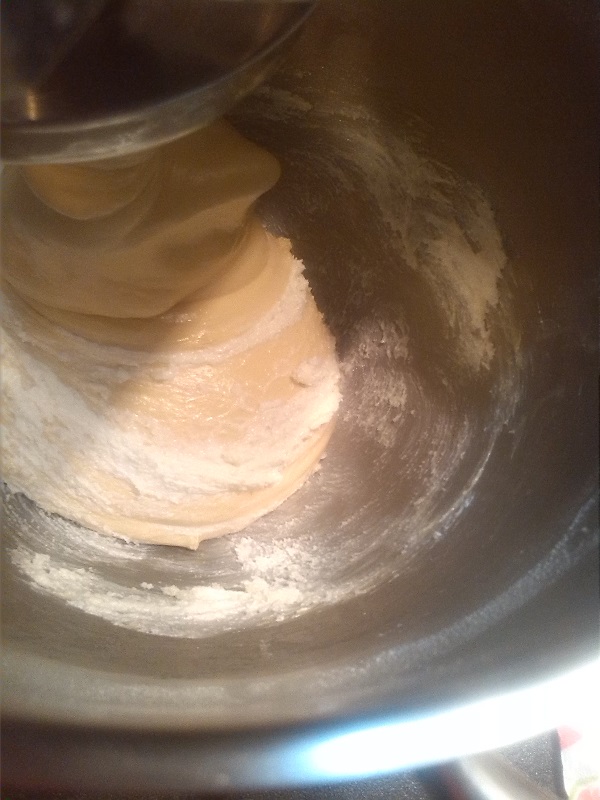
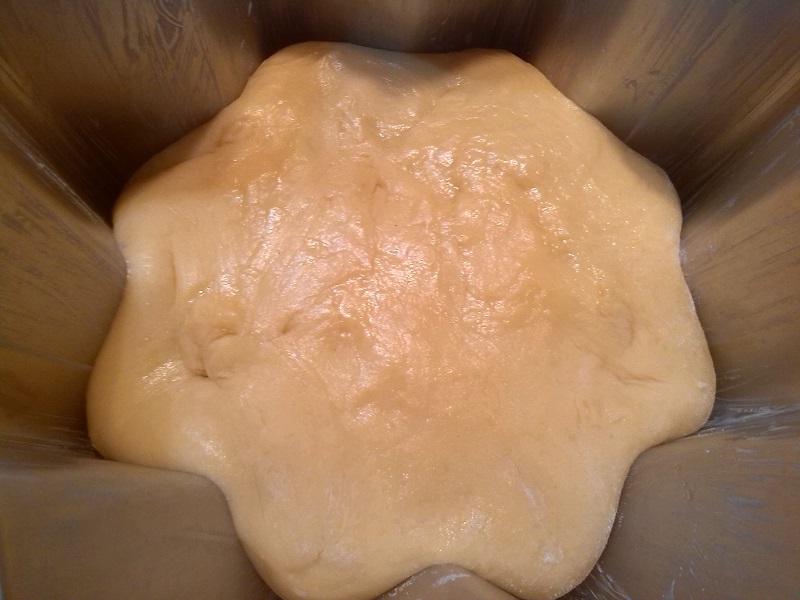
We have one egg yolk left, right? Now it’s time to judge whether to add it or not. If the dough is already too soft, don’t worry, simply do not add this extra yolk. The dough should now look like this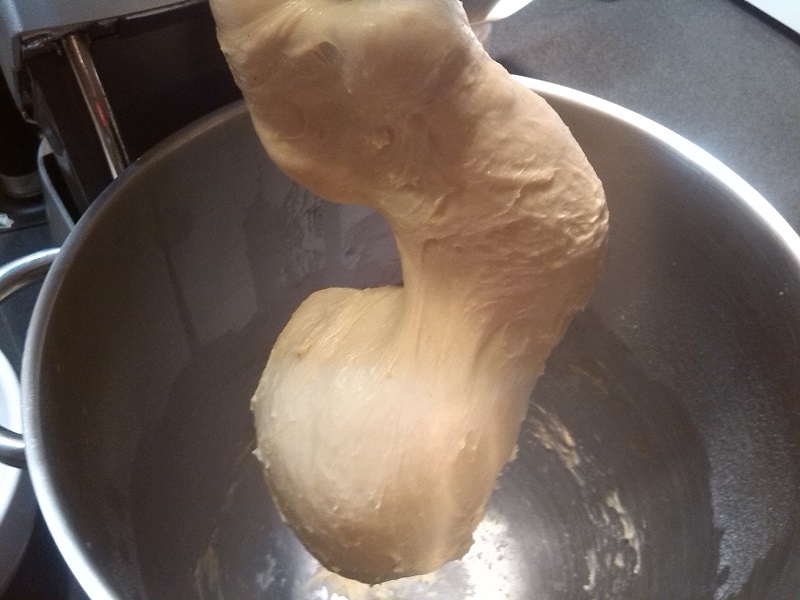
Once we have a strong gluten network we can start adding the butter-sugar emulsion. Remember again, the Golden Rule!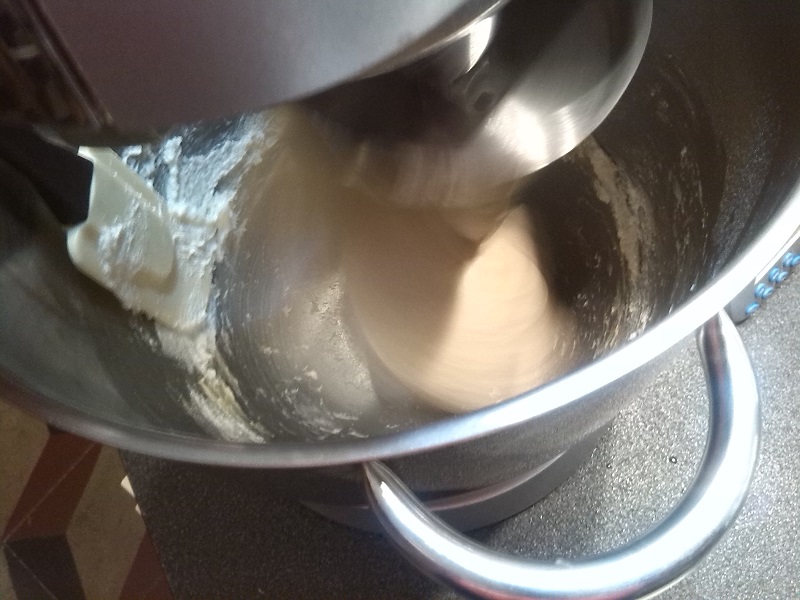
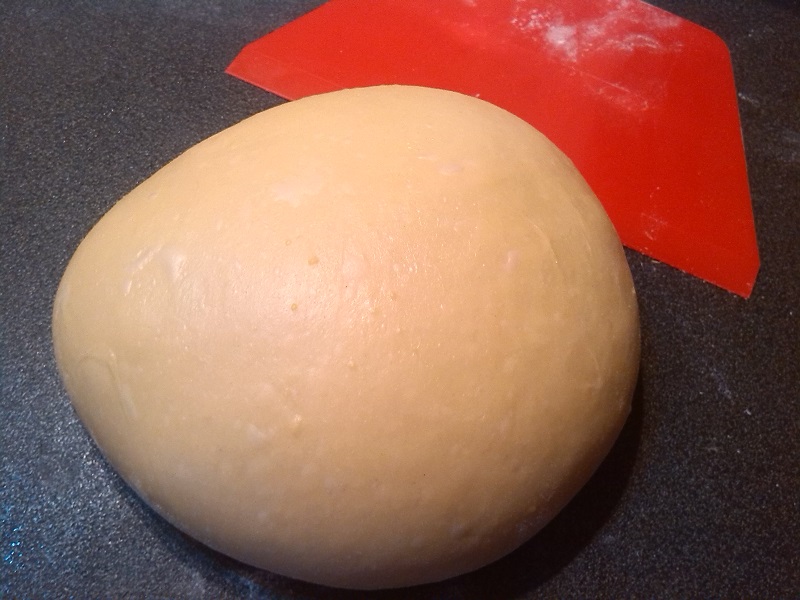
When we finished adding the emulsion, we add the salt. Mix until the salt is adsorbed. When we finish the dough should look like this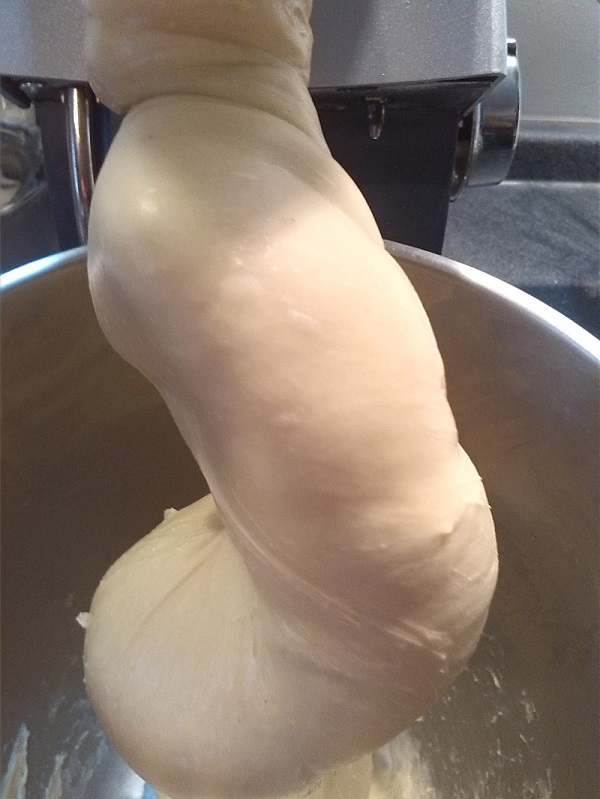

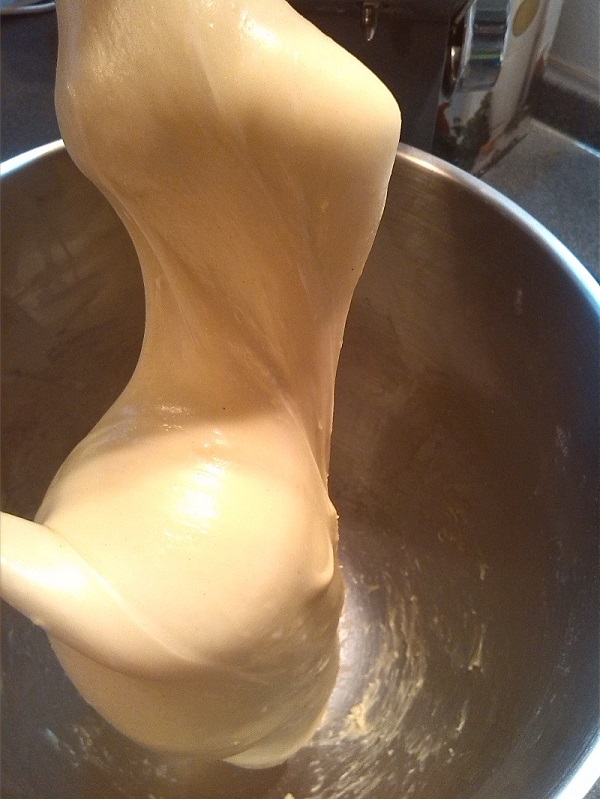
We can do a little test to understand whether our dough is strong enough. Pull the dough with your fingers until you can see a thin, transparent gluten network layer. Do not worry if it breaks before being transparent, the strength is good enough anyway.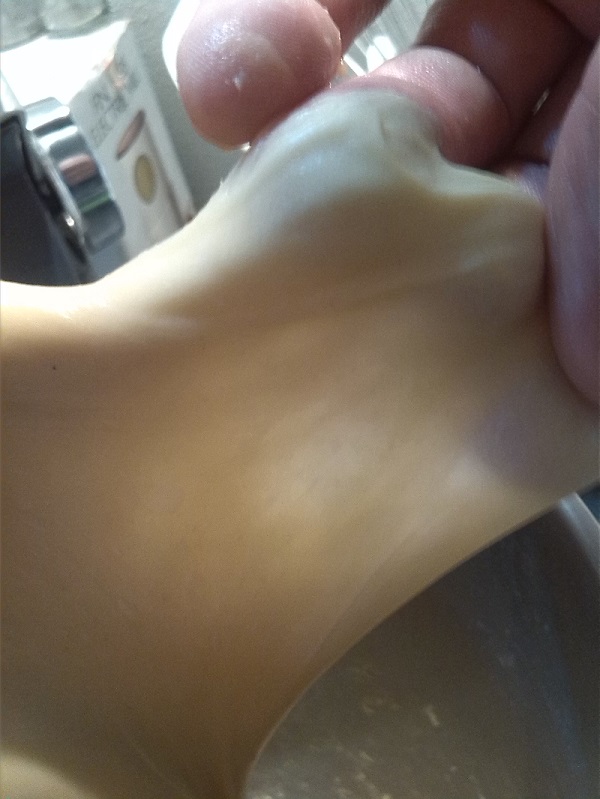
We can now place our dough on a table and shape it into a sphere as we did for the first dough.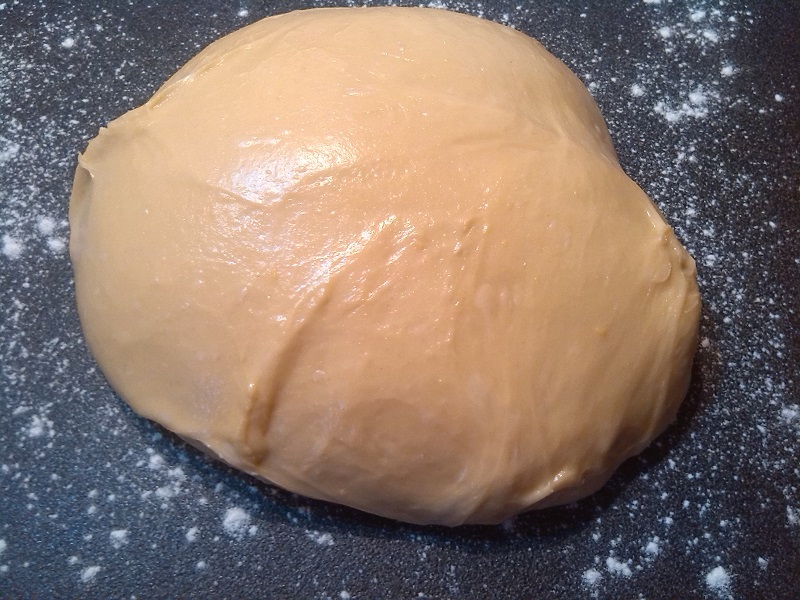
We can now place the dough into a container and let it rest for 30 minutes. If we are making a classic Pandoro we can now create a syrup with the alcoholic beverage, vanilla, honey and orange//lemon zests. The syrup can then rest in the fridge.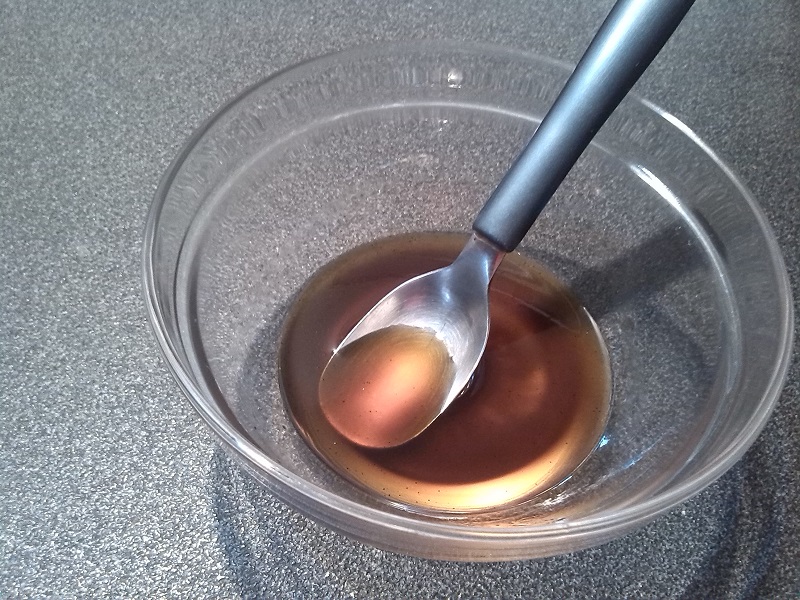
We start from the flour, the first dough (remember the little “spy”) and two egg yolks. We will add one egg little by little. Same exact rule and procedure as for the “Moscato” pandoro.
We will then decide whether to add the last egg or not. We then add the syrup, the sugar-butter emulsion following the golden rule and finally the salt.
Ok, we are now all on the same page! While the dough is resting we can cover the mould with a layer of butter. Make sure the butter is uniformly spread all over the inner surface of the mould. If you leave chunks of butter it’s worse. Use kitchen paper to remove the chunks.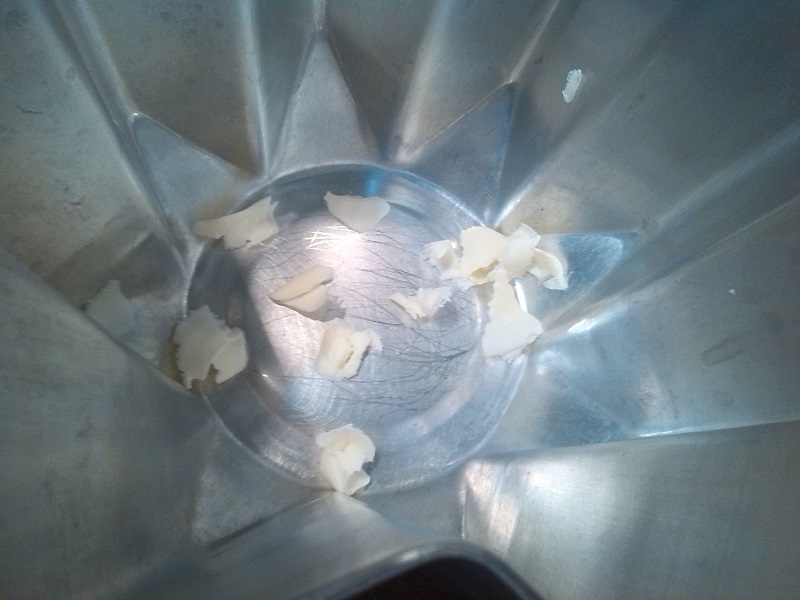
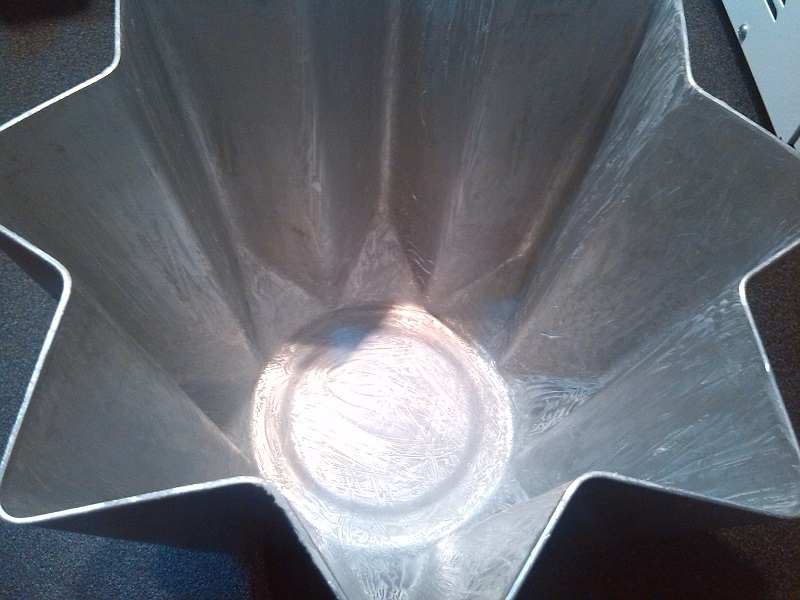
With the help of a brush spread the butter uniformly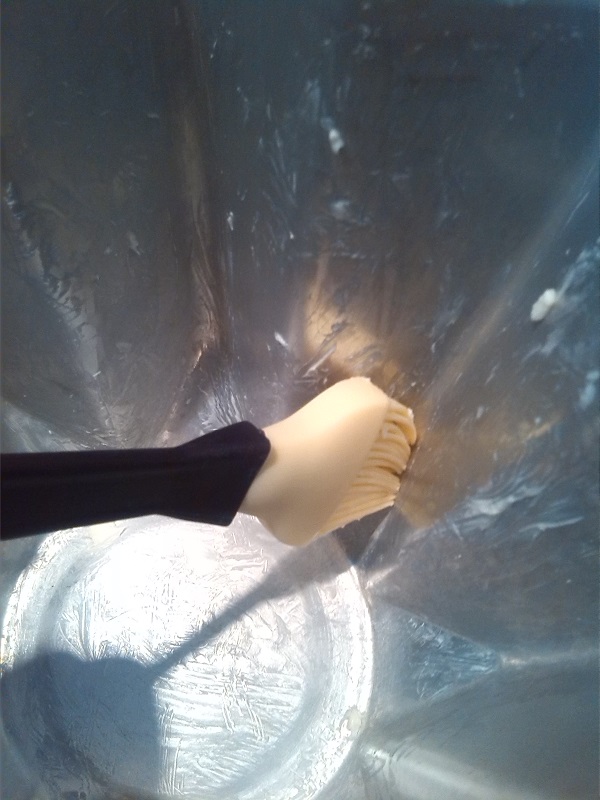
Now we get our dough back on the working table, we re-shape into sphere to give the final strength and we put it in the mould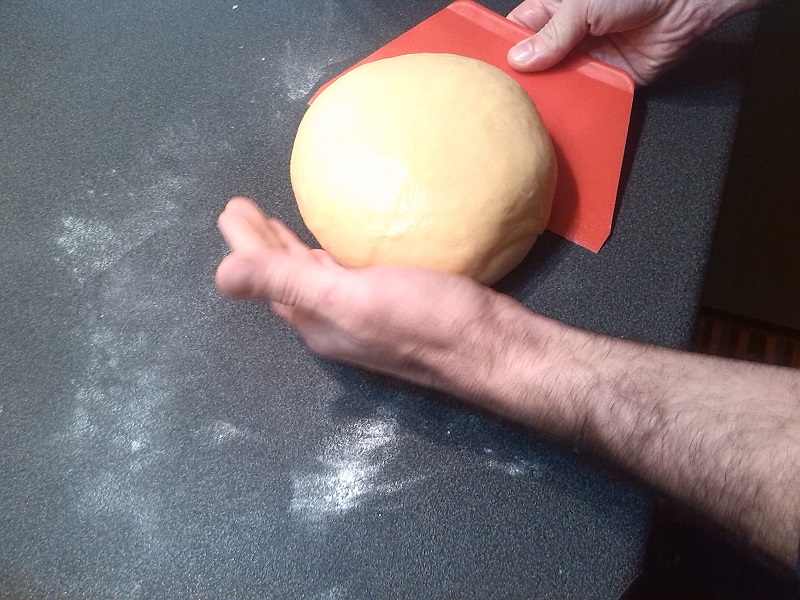
Cover the mould with a lid, to prevent the dough to dry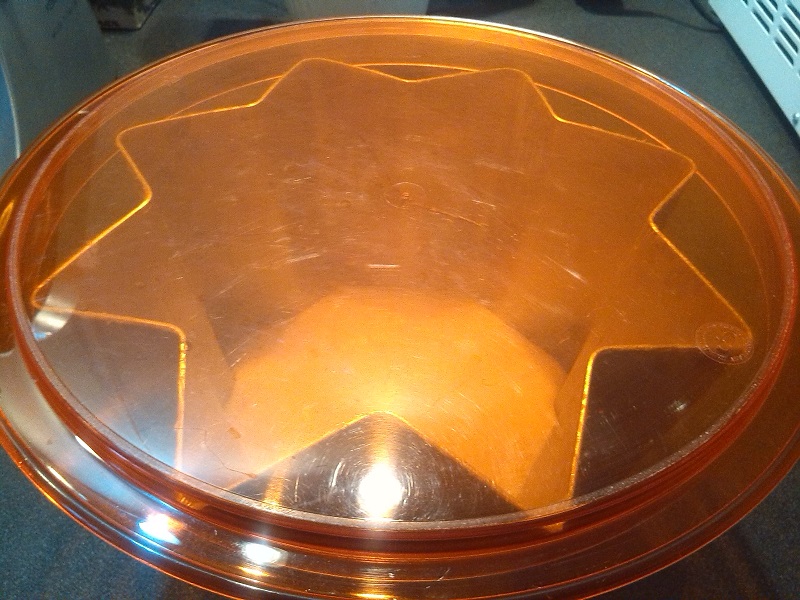
Second rising
Place the mould in a warm place (we can use the oven with only the light on as we did for the first dough) and let it rest until it rise almost to the upper edge of the mould. Whether it reaches the edge it depends on the height of the mould. My mould is 23 cm wide and 17 cm tall. With this mould I wait that the dough reaches almost the upper edge. Normally it takes 12 hours at 26 °C.
When the dough reaches the correct level we are ready to bake!Baking
As we all know each oven is different from the other. This means that you will have to adjust the baking according to your oven performances. I don’t use convection, because normally it dries the dough to quickly. If you are not sure how to bake, in general is better to have a longer baking time than a shorter one. This kind of dessert bread requires to fully develop in the oven.
As a general approach you could use the following:
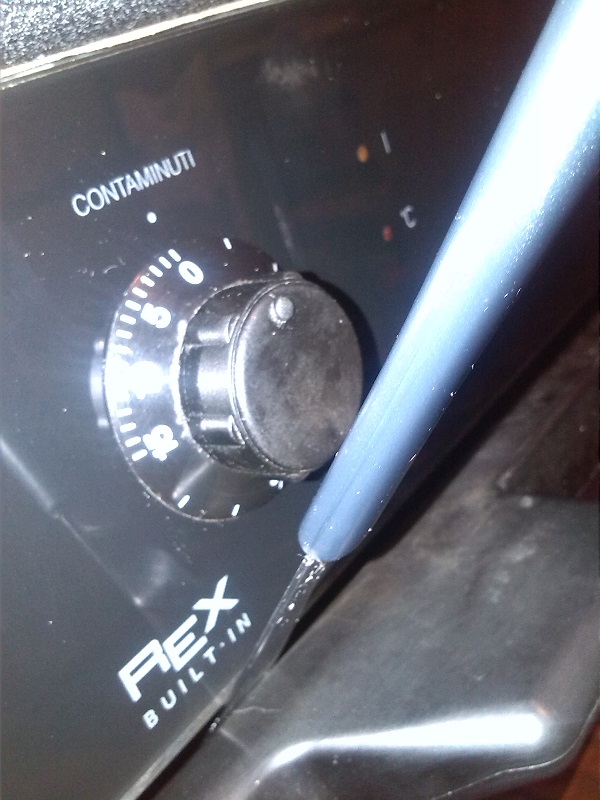
- Pre-heat the oven at 180 °C
- Insert the Pandoro in the oven and reduce the temperature to 170 °C
- Bake for 15 minutes, cover the upper part of the Pandoro with thin foil and reduce the temperature to 160 °C
- Bake for another 45 minutes.
- Bake for another 10/15 minutes with the oven door slightly open, to let the vapour to exit the chamber.
- Remove the product from the oven and place on a grill, WITHOUT removing it from the mould.
Before starting bake, we can leave the dough 10 minutes at room temperature. It will create a thin layer on the exposed surface.
If we have big bubbles it is better to break them before baking. A good practice in general is to make some holes with a fork just before baking.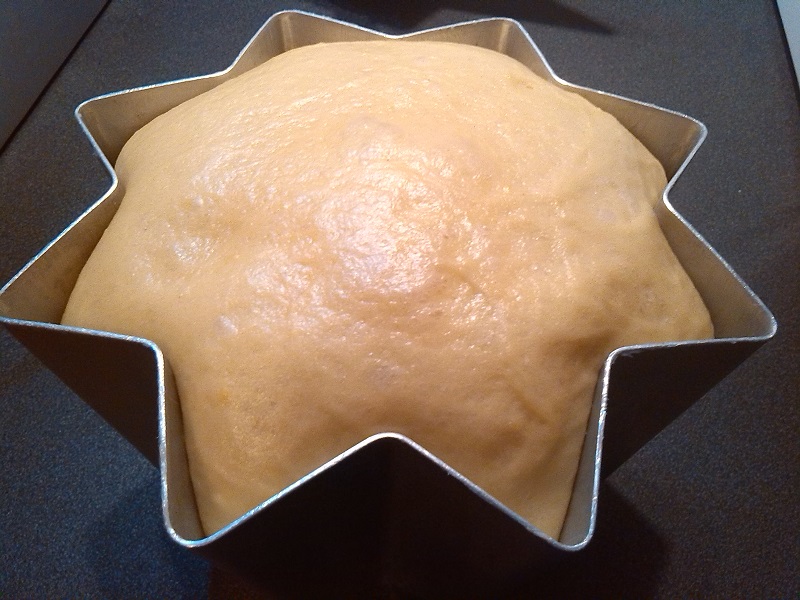
I don’t know if it’s required or not, but I normally spread a last layer of butter on the exposed inner surfaces of the mould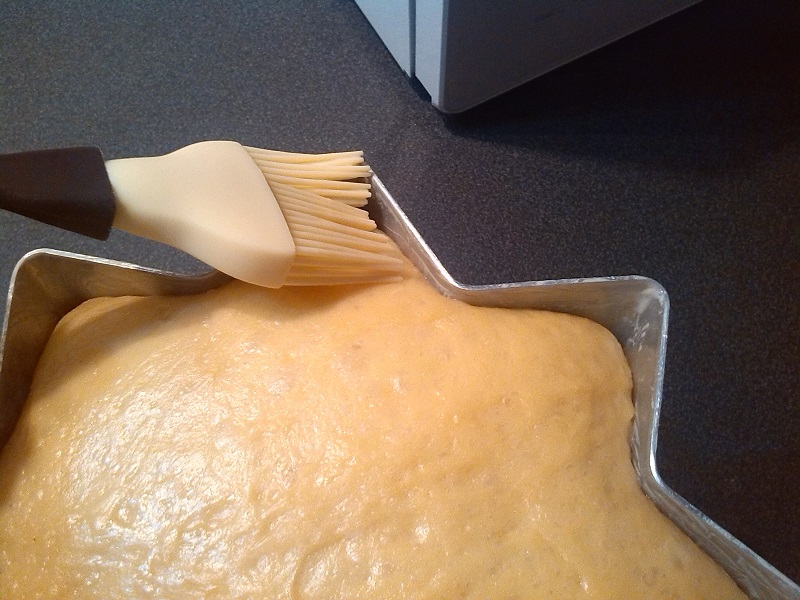
Place the mould in the bottom layer of the oven and bake!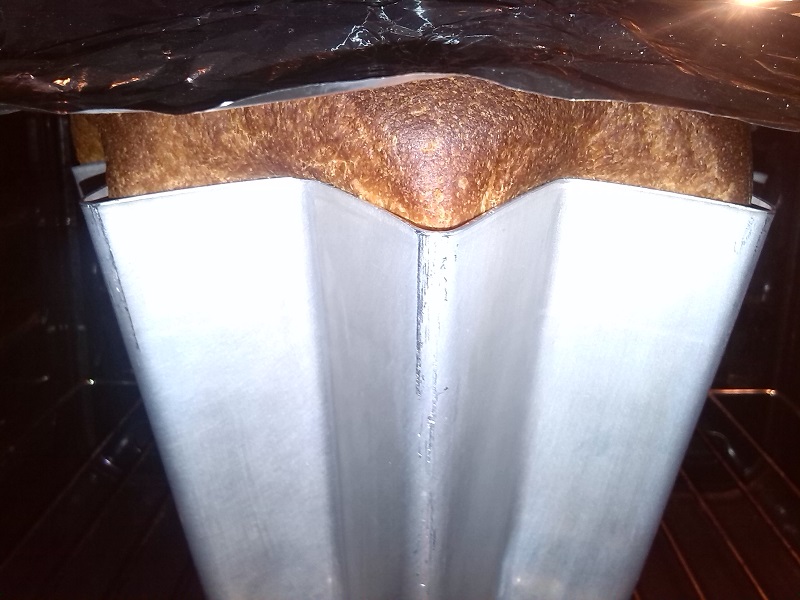
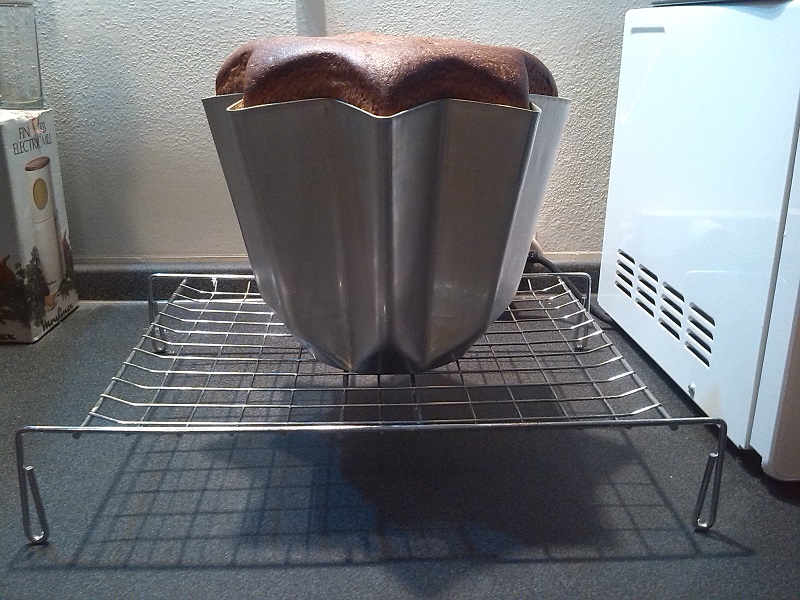
Now we have to wait at least 2 hours before removing from the mould. After these two hours gently slide the Pandoro off the mould. If it looks like it doesn’t come off easily you can pre-slide a thin metal or plastic layer through the border.
We then leave it another 10 hours to stabilize on a cold grid.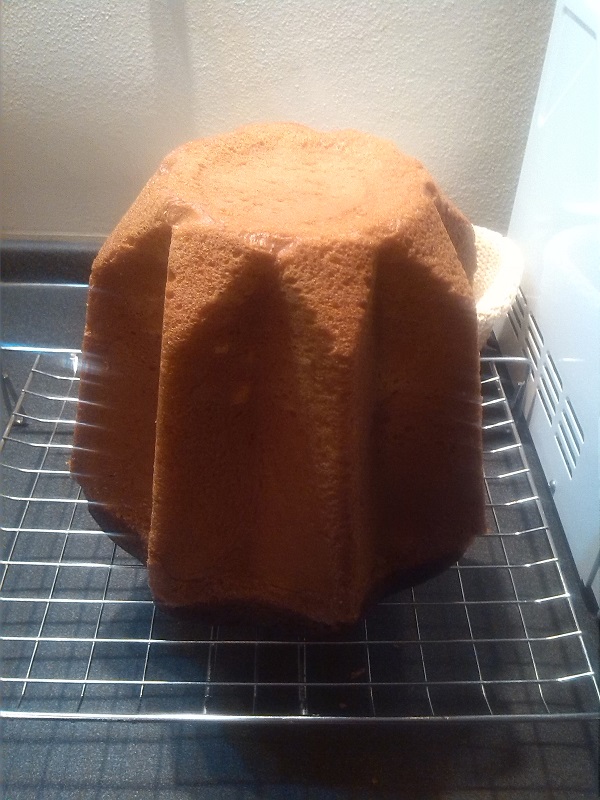
In order to keep the Pandoro fres and avoid contamination we need to sanitize a bag. Spray some ethanol on the inner surface of the bag before place the Pandoro in the bag. It is very important that the Pandoro is dry enough before placing in the bag.
Theoretically it can last up to two months in the bag, but I’m sure you will eat it much before!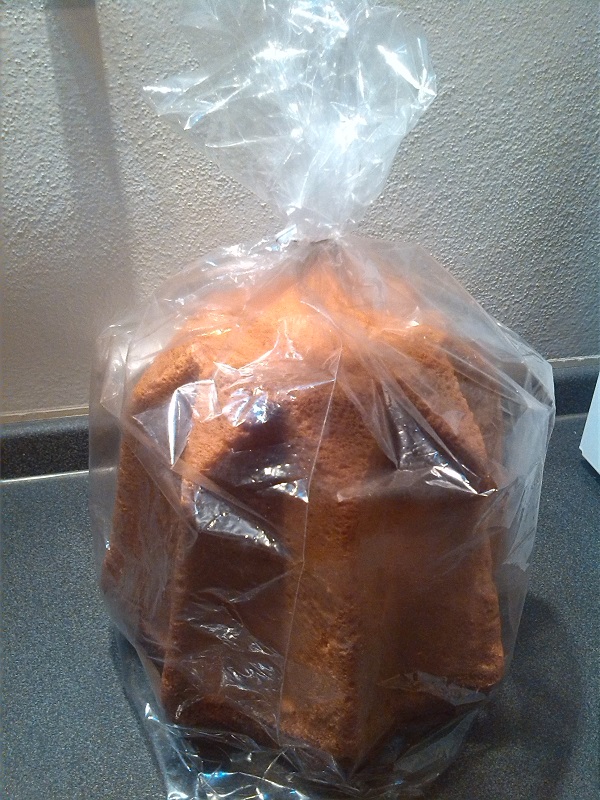 .
.
Pandoro |